Brake Job Time Estimator
Total Estimated Duration
Breakdown of Added Time:
You pull into the garage, hand over your keys, and ask the service writer how long it will be. They shrug and say "an hour or two." You wait three hours. Or maybe you're the one holding the wrench, wondering if you can finish before dinner. The truth is, how long should a brake pad job take depends heavily on who’s doing the work, what kind of car you drive, and whether the rotors need attention too.
For a standard passenger car with no rusted bolts and fresh parts, a professional mechanic typically spends about 30 to 45 minutes per axle. That means roughly an hour for all four wheels. But that number is optimistic. In the real world, seized caliper pins, stuck rotors, or a lack of proper tools can double that time instantly. If you’re doing it yourself, add another 50% to account for learning curves, hunting for the right socket, and inevitable setbacks.
The Professional Timeline: What Mechanics Actually Do
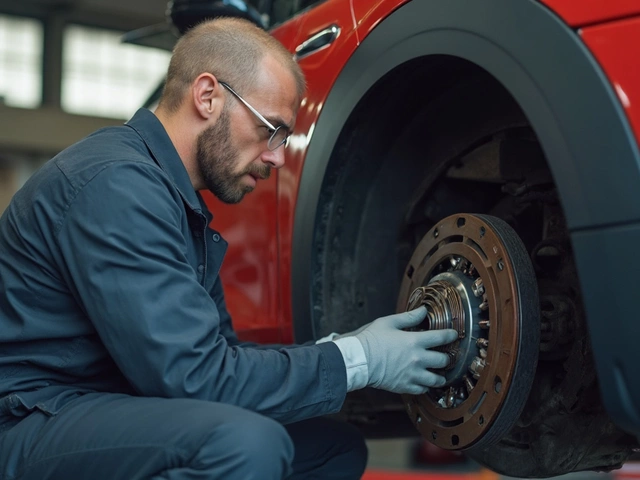
When a pro works on your car, they aren't just swapping rubber blocks. They follow a strict sequence to ensure safety and longevity. For a front-end brake pad replacement, which includes removing the wheel, compressing the caliper piston, cleaning the bracket, installing new pads, and reassembling everything, expect them to spend between 30 and 60 minutes.
Why so short? Because they have impact guns, lift ramps, and years of muscle memory. They know exactly which bolt to loosen first. They don’t fumble with rusty fasteners because they’ve already pre-treated them or have penetrating oil ready. However, if the rear brakes involve an electronic parking brake (EPB), which is common in cars from 2015 onwards, the process changes. You can’t just push the piston back; you need a diagnostic tool to retract it electronically. This adds 15-20 minutes per side.
Here’s a realistic breakdown of labor hours based on industry standards:
| Job Type | Professional Mechanic | DIY Enthusiast | Beginner DIY |
|---|---|---|---|
| Front Pads Only | 0.5 - 1.0 hours | 1.5 - 2.5 hours | 3+ hours |
| Rear Pads (Manual Handbrake) | 0.5 - 1.0 hours | 1.5 - 2.5 hours | 3+ hours |
| Rear Pads (Electronic Parking Brake) | 1.0 - 1.5 hours | 2.0 - 3.5 hours | 4+ hours |
| Pads + Rotors (One Axle) | 1.0 - 1.5 hours | 2.0 - 3.0 hours | 4+ hours |
| Full Brake Job (All 4 Wheels) | 2.0 - 3.0 hours | 4.0 - 6.0 hours | 8+ hours |
Why Your Car Might Take Longer Than Expected
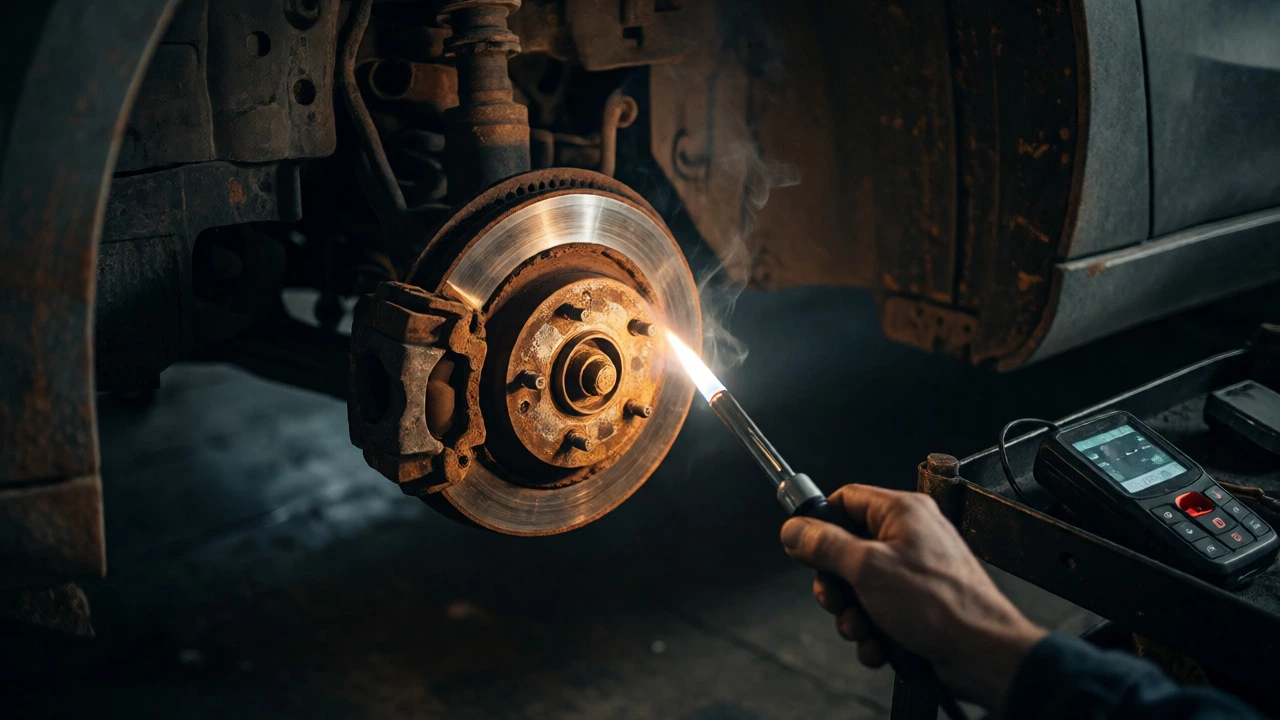
If you’re waiting at the dealership, don’t panic when they call to say it’s taking longer. Several factors can turn a quick swap into an afternoon project. The biggest culprit? Rust. In coastal areas like Bristol, where I live, salt air eats away at metal. Caliper slide pins seize up. Rotors weld themselves to the hub. If a mechanic has to heat a stuck rotor with a torch or use a specialized hammer technique to free it, that’s extra billable time. It’s not laziness; it’s physics fighting back.
Another major delay comes from hardware wear. Old clips and shims often break during removal. A good mechanic won’t reuse brittle metal clips because they’ll rattle later. If they don’t have replacements on hand, they might pause to source them, or worse, improvise, which risks noise complaints down the road. Always ask if the quote includes new hardware. If it doesn’t, you might face a surprise charge.
Then there’s the issue of bleeding the brakes. Some cars require a specific bleed procedure after opening the hydraulic system. If air gets trapped in the lines, the pedal feels spongy. Modern ABS systems sometimes need a scan tool to cycle the pumps during bleeding. This isn’t something you can rush. Skipping it leads to poor braking performance, which defeats the purpose of the repair.
The DIY Reality Check: Tools and Prep Work
Doing it yourself saves money, but it costs time. Before you even touch a bolt, you need the right gear. A floor jack and jack stands are non-negotiable. Never trust a scissor jack alone. You also need a caliper wind-back tool or a C-clamp. If you skip this, you’ll struggle to fit thick new pads into a tight space.
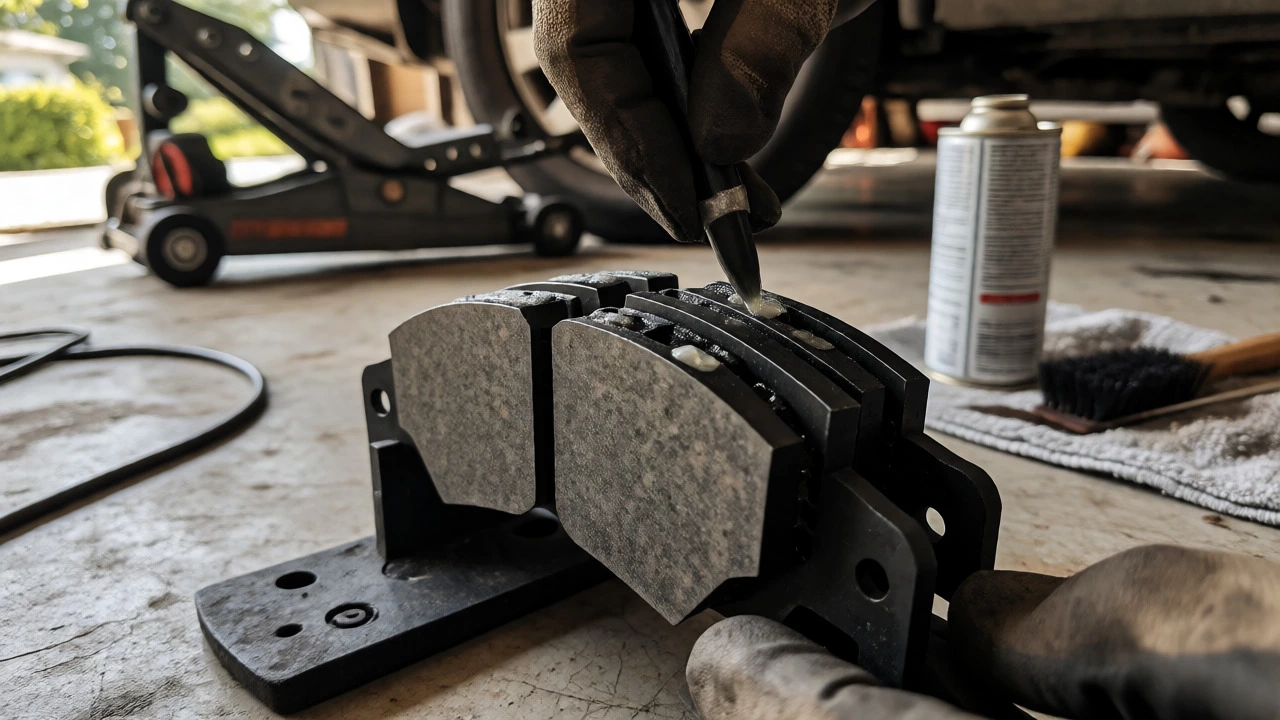
Preparation cuts down on frustration. Buy high-quality ceramic brake pads. They produce less dust and stop quieter than semi-metallic ones, though they cost more. Also, grab anti-squeal grease for the contact points, but never get it on the friction surface or the rotor. One drop on the wrong spot causes squealing that lasts weeks.
Here’s a checklist to speed up your DIY job:
- Penetrating Oil: Spray every bolt and pin 15 minutes before starting.
- Wire Brush: Clean the caliper bracket thoroughly. New pads on dirty brackets cause uneven wear.
- Torque Wrench: Don’t guess. Overtightening lug nuts warps rotors; undertightening risks wheel loss.
- Bleeder Kit: If you open the bleeder valve, you need a helper or a one-person kit.
Expect the first side to take twice as long as the second. By the time you finish the left front, you’ve figured out the quirks of your specific model. The right front goes much faster. This asymmetry is normal. Plan for a full day if you’re tackling all four corners.
Rotors: To Replace or Resurface?
This decision impacts time significantly. If your rotors are within thickness specs and only lightly scored, a shop might skim them on a lathe. This takes 10-15 minutes per rotor if the machine is free. But many modern cars have thin rotors that can’t handle resurfacing. Replacing them is faster for the installer-just unbolt and swap-but requires buying new parts.
For DIYers, replacing rotors is easier than resurfacing because you don’t need a heavy lathe. Just clean the hub face with a wire brush before mounting the new rotor. Any debris left behind creates runout, which leads to vibration under braking. Taking five minutes to clean properly now saves you from having to redo the job next month.
Signs You Need More Than Just Pads
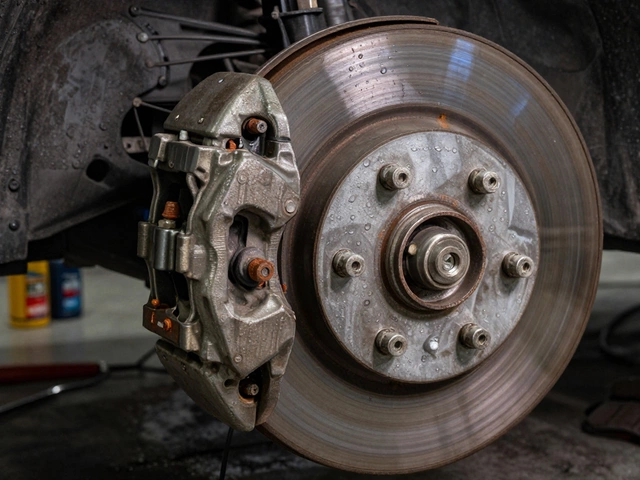
Sometimes, what looks like a simple pad change reveals deeper issues. If you hear grinding, the backing plate might have worn through to the caliper piston. This damages the rotor surface, requiring replacement rather than just cleaning. If the caliper slides are seized, pushing the piston back becomes impossible without disassembly. Cleaning and lubricating caliper slides adds 20-30 minutes per corner but prevents future sticking.
Check the condition of the flex hoses. If they look cracked or bulging, replace them while you’re in there. It’s cheap insurance compared to a hose burst on the highway. Adding hose replacement extends the job by about 15 minutes per side.
FAQ: Common Questions About Brake Job Timing
Can I drive my car immediately after changing brake pads?
Yes, but with caution. You must pump the brake pedal several times until it feels firm before moving the car. This seats the pistons against the new pads. For the first 50 miles, avoid hard stops to allow the pads to bed-in to the rotors. Smooth, gradual braking helps transfer material evenly.
Why did my brake job take 4 hours at the shop?
Likely reasons include seized calipers, stuck rotors due to rust, or electronic parking brake complications. Shops also schedule multiple jobs in bays, so your car might have waited for equipment or personnel. Ask for a detailed invoice explaining the extra labor hours.
Do I need to replace rotors every time I change pads?
Not always. If the rotors are smooth, above minimum thickness, and not warped, you can reuse them. However, most mechanics recommend replacing them with new pads for optimal performance and safety, especially on vehicles with thin factory rotors.
How long does it take to bleed brakes?
If you didn’t open the hydraulic line, you don’t need to bleed them. If you replaced a caliper or hose, bleeding takes 15-20 minutes per wheel with a helper, or longer if using a vacuum pump solo.
Is it safe to reuse old brake clips?
No. Metal fatigue makes old clips lose tension. Reusing them often leads to rattling noises and uneven pad wear. Always install new hardware included with quality pad sets.