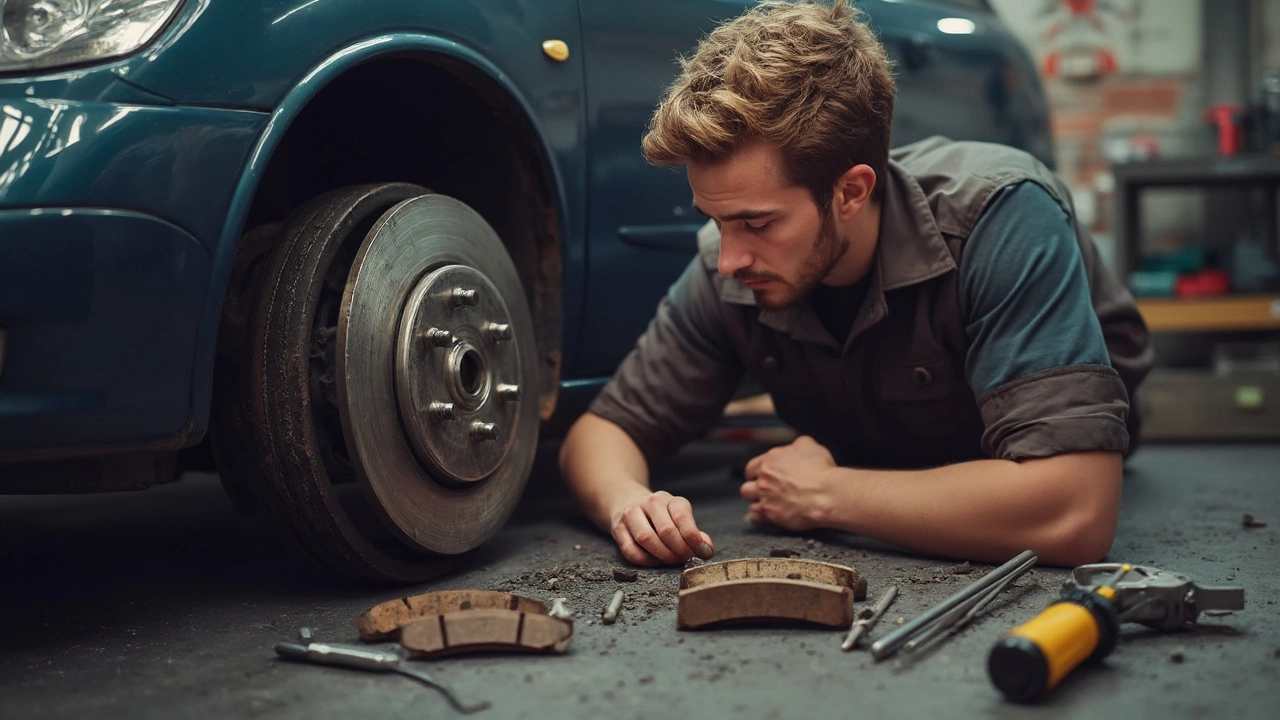
If your brakes squeal, feel soft, or you're just due for a new set, doing the job yourself can save cash and give you confidence in your car. You don’t need a garage full of fancy equipment – just a few tools, some patience, and the right safety habits. Follow this guide and you’ll have new pads (and discs if needed) on the road in a few hours.
Gather everything before you lift the car. Missing a wrench mid‑job is the fastest way to waste time.
Having the correct pads for your make and model is crucial – check the part number on your old set or use the car’s VIN to confirm.
1. Prepare the vehicle. Park on a flat surface, engage the handbrake, and put wheel chocks behind the opposite wheels. Loosen the lug nuts just enough to break their seal before you jack the car up.
2. Lift and secure. Position the jack under the manufacturer’s lift point, raise the car, and slide in jack stands. Double‑check that the stands are stable before you crawl underneath.
3. Remove the wheel. Finish unscrewing the lug nuts, pull the wheel straight off, and set it aside. Keep the nuts in a safe spot – you’ll need them later.
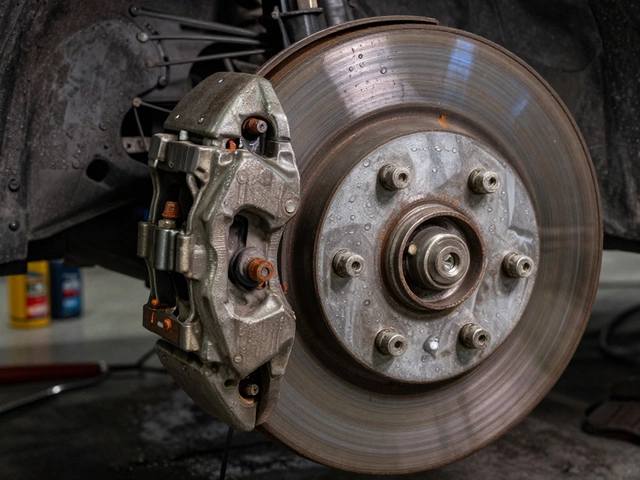
4. Inspect the rotor. Spin the rotor by hand. If you feel deep grooves, rust spots, or it wobbles, replace it now. A clean rotor ensures even pad wear.
5. Take off the old pads. Locate the caliper bolts (usually two) and remove them with the appropriate socket. Slide the caliper off the rotor – you may need to wiggle it a bit. Suspend the caliper with a zip tie or hang it from the suspension so the brake hose doesn’t twist.
6. Compress the caliper piston. Use a C‑clamp or piston tool to push the piston back into the caliper housing. This creates enough space for the new, thicker pads. Watch the fluid reservoir – if the piston pops out too fast, you might have a brake fluid leak.
7. Install new pads. Apply a thin layer of brake grease on the back of the pads and any contact points on the caliper bracket. Place the new pads into the caliper slot, making sure they sit evenly.
8. Re‑assemble the caliper. Align the caliper over the rotor, slide it back into place, and torque the bolts to the manufacturer’s spec (usually around 30‑50 Nm). Double‑check the bolts are snug.
9. Put the wheel back. Align the wheel with the hub, hand‑tighten the lug nuts, lower the car onto the ground, then finish tightening the nuts in a star pattern to the recommended torque.
10. Test the brakes. Before you drive, pump the brake pedal a few times until it feels firm. This seats the pads against the rotor. Take a short, low‑speed test drive and listen for any grinding or pulling. If everything feels normal, you’re good to go.
Remember, only replace the rear pads if the front ones are still in good shape and vice‑versa, but most mechanics recommend changing both ends at the same time. It keeps brake balance even and prevents uneven wear.
When in doubt, or if you spot cracked brake lines, warped rotors, or unusual noises after the job, call a professional. Brakes are a safety‑critical system; a small mistake can have big consequences.
Now you have fresh brakes without the shop’s markup. Keep the old pads for recycling, store your tools, and enjoy the extra confidence that comes from doing the work yourself.
 6 April 2025
Replacing brake pads yourself can save money and offer a sense of accomplishment. Understanding the process is essential for safety and efficiency. This guide helps you decide if you're up to the task, identifying tools needed, step-by-step instructions, common mistakes to avoid, and when professional help is necessary.


©2026 northwichtyrescentre.co.uk. All rights reserved
0