Thinking about changing your brake pads on your own? It's a task that's definitely within reach if you've got a bit of patience and the right gear. Saving some cash and getting a sense of 'I did that myself!' is pretty sweet, but there's more to it than just grabbing a wrench and diving in. So, let’s get real about what it takes to swap out those brake pads.
First, a quick reality check: brakes are no joke. They're the difference between a smooth stop and a bumper-to-bumper fender-bender. So, if you're feeling even a bit unsure, it's perfectly okay to call in the pros after all. Safety first, right?
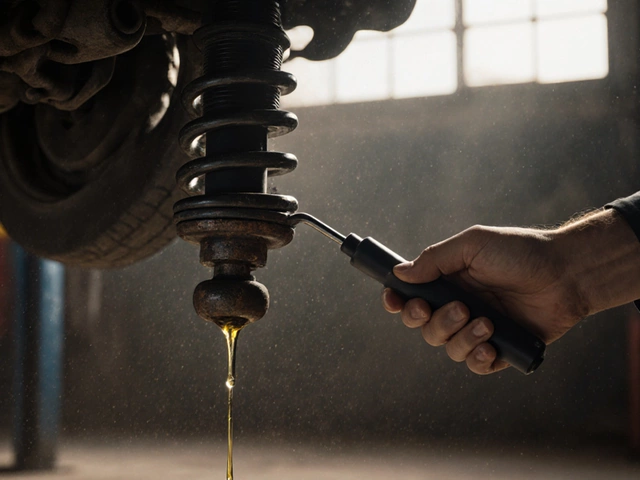
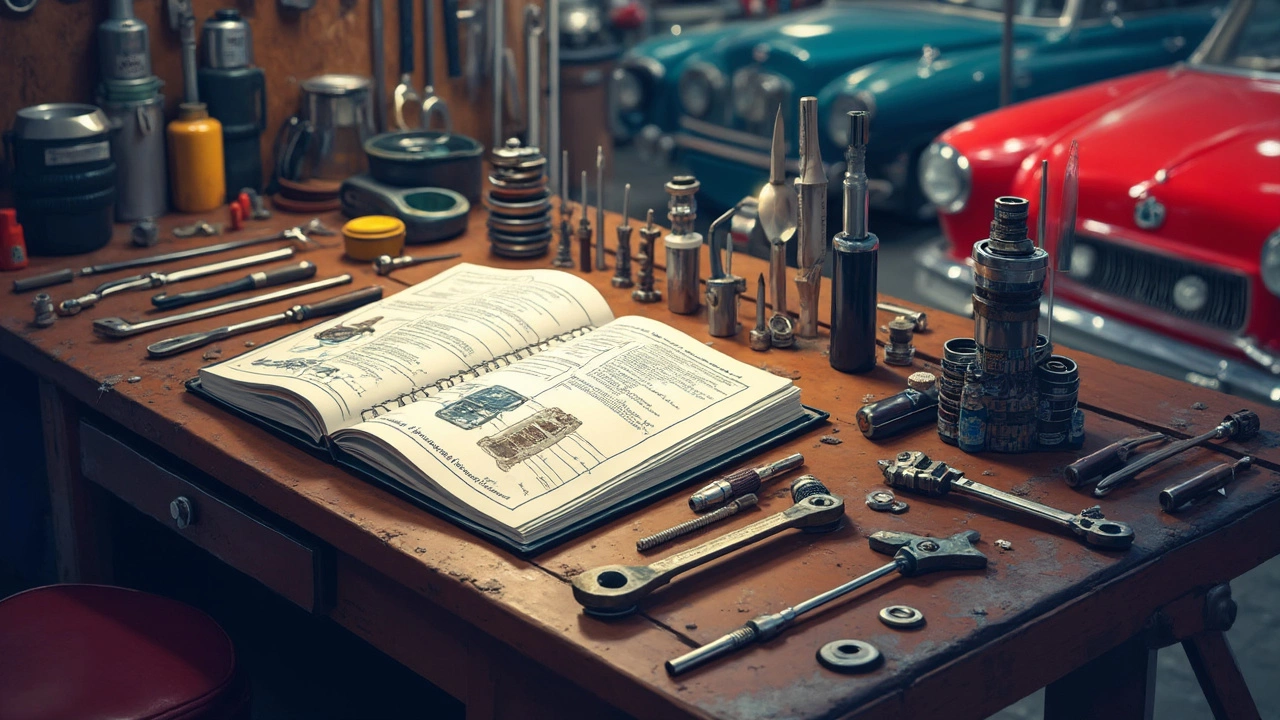
But if you’re ready to get your hands a bit dirty, let’s talk tools. The basics? A brake spreader tool, a decent set of wrenches, a jack and jack stands to lift your car safely, and of course, new brake pads. Doesn’t sound too scary, does it? Well, stick around, and let's break it down step-by-step.
- Why Consider Replacing Brake Pads Yourself?
- Essential Tools and Equipment
- Step-by-Step Guide to Changing Brake Pads
- Common Mistakes and How to Avoid Them
- Signs You Need Professional Help
- Tips for Choosing the Right Brake Pads
Why Consider Replacing Brake Pads Yourself?
Ever glanced at a repair bill and thought, “I could probably do that myself and save a few quid”? You’re not alone. The idea of replacing your own brake pads appeals to lots of folks for a couple of solid reasons.
First off, the cost savings can be significant. Professional mechanics often charge a decent sum just for labor, not to mention the markup on parts. By learning to swap out brake pads yourself, you can cut out those expenses. Imagine channeling that extra cash towards a weekend getaway or when you accidentally splurge on something frivolous.
Then there’s the satisfaction factor. Rolling up your sleeves and diving into car maintenance isn’t just about saving money—it’s also about that little fist pump of triumph once you’ve done the job. You know that feeling when someone says, “Oh, you fixed it yourself? Nice.” That’s gold.
Plus, doing it yourself gives you a better understanding of how your car works. Next time a warning light flashes on your dashboard, you might have a better idea of what’s going on under the hood. Knowledge is power, especially when it comes to keeping your car safe and sound.
Lastly, it’s about timing. No one wants their car holed up in a shop for days when you need it the most. By doing the job at home, you set your own schedule. Got a free Saturday morning? That's when you knuckle down and get it done.
Of course, you should weigh these benefits against the time and commitment needed. But if you’re game for a bit of elbow grease, replacing your brake pads might just be your new thing.
Essential Tools and Equipment
Alright, before you get started on this DIY brake pad adventure, you gotta have the right gear in your toolkit. It’s not just about going in and hoping for the best; having these essential tools makes the job much smoother and heaps safer.
First on the list, you’ll need a brake spreader tool. This is your best buddy for compressing the caliper piston, making room for those shiny new brake pads. A trusty wrench set is next—because, let's face it, every nut and bolt in your car seems to need a different size.
Don’t forget the jack and jack stands. Safety is key, so make sure your car is lifted securely before you even think about taking off the wheel. A torque wrench also comes in handy; using it ensures those bolts are tightened to the right specs, no guesswork involved.
Now, for the brake pads themselves, do a quick check in your car’s manual to make sure you’re grabbing the right kind. It might seem silly, but a quick peek can save a lot of head-scratching later. And if you can get your hands on them, having some anti-squeal compounds or grease would be great for applying on the back of the pads and sliding pins.
Here’s a simple way to remember the essentials:
- Brake spreader tool
- Wrench set
- Jack and jack stands
- Torque wrench
- New brake pads
- Anti-squeal compound or grease
With this setup, you're on track to tackle your brake pad replacement task, and if you ever find yourself stuck, YouTube tutorials and car forums are a click away with tons of tips from fellow car enthusiasts.
Step-by-Step Guide to Changing Brake Pads
Alright, let’s get into the nitty-gritty of swapping out those brake pads. Don’t worry, even if you're not a car enthusiast, following these steps will have you stopping like a pro in no time.
- Prep Your Ride: First things first, make sure your car is parked on a flat surface. Engage the parking brake. You don’t want your car rolling away while you're mid-task!
- Lift and Secure: Use a jack to lift the car and then place jack stands under the frame to keep it steady. Safety, safety, safety. Always double-check that it’s secure.
- Wheel Removal: Remove the lug nuts with a wrench and take the wheel off. Set it aside where it won’t trip you up or roll away.
- Caliper Comes Off: Find the brake caliper, which is usually held by two bolts. Loosen and remove these bolts to slide the caliper off the rotor. Use a bungee cord or a sturdy rope to hang it so it doesn’t dangle by the brake line.
- Old Pads Go Bye-Bye: Pull out the old brake pads from the caliper bracket. They slide out with a bit of effort. Take a look—pretty worn out, huh?
- Insert New Pads: Slide in the new brake pads. Ensure they’re seated correctly and not hanging out at odd angles.
- Piston Reset: Use the brake spreader tool to push the caliper piston back in, making room for the new, thick pads. This might take a little elbow grease.
- Reattach Caliper: Once the piston is reset, place the caliper over the new pads and secure it using the bolts you set aside earlier.
- Wheel Back On: Place the wheel back in its spot, and tighten the lug nuts by hand first, then with a wrench.
- Lower and Test: Remove the jack stands and carefully lower your car to the ground. Give a test press on the brake pedal while the car is still stationary to ensure it feels firm and responsive.
And there you have it! Your new brake pads are installed, and you’re ready to hit the road with confidence. Take it slow at first to make sure everything functions properly. If anything feels off, don’t hesitate to consult a professional.
| Tool Needed | Purpose |
|---|---|
| Jack & Jack Stands | To lift and support the car safely |
| Wrench | For removing and attaching lug nuts |
| Brake Spreader Tool | To reset the piston |
| Bungee Cord | For securing the caliper |
Ready to roll? Just remember, the key is patience and attention to detail. Good luck!
Common Mistakes and How to Avoid Them
Replacing brake pads sounds straightforward, but several blunders can trip you up. Let’s walk through them and make sure you're not pulling your hair out halfway through.
One biggie mistake is not using the right tools. If you're trying to make do without a brake spreader tool, stop right there. This gadget is crucial for pushing the caliper pistons back, giving your new pads enough space. It’s tempting to use whatever’s handy, but it’s risky and might damage the caliper.
Another common screw-up? Not securing the car properly. Your ride needs to be stable when raised on jack stands. Not doing so can make your car unstable and dangerous. Never rely on just a jack, as it can give way without warning.
A big oops moment is installing the pads backwards. Yep, it happens more than you'd think. Make sure the friction side — the part that faces the rotor — is in the right direction before tightening things up.
Then there's the issue of skipping the rotor inspection. Worn or warped rotors can make your new brake pads wear out faster. If the surface isn’t smooth, consider getting them resurfaced or replaced.
Finally, not bleeding the brakes can lead to soft brake pedals. Air trapped in the system can reduce braking efficiency. So, after changing the pads, give the brakes a few pumps until you feel consistent resistance.
- Use the proper tools to avoid damaging the parts.
- Ensure the car is safely supported with jack stands.
- Double-check that pads are installed correctly.
- Inspect rotors for wear or damage.
- Bleed brakes to eliminate trapped air.
Dodging these mistakes will make the process smoother and get your car stopping like a champ. Remember, if something feels off, it's better to pause and double-check before moving on.
Signs You Need Professional Help
Alright, so you’re all geared up to replace those brake pads, but suddenly you hit a snag. How do you know if it's time to wave the white flag and call in the experts? Let’s break it down.
First off, if you notice any odd noises, like a persistent squealing or grinding after replacing your brake pads, don’t ignore it. It could mean there’s an underlying issue that needs a professional touch.
Then there’s the feel of the pedal. If it’s mushy or you’re having to stomp on it harder than a kid stomping puddles, you might want to get it checked out. A firm, responsive pedal is what you’re aiming for.
Another red flag? Uneven wear on your new pads. If they’re wearing down faster on one side, something’s likely wonky with your alignment or calipers. These can be tricky to spot if you’re not well-versed in car anatomy.
Here’s a nugget of wisdom from an auto expert who’s seen it all.
"If something feels off after a DIY fix, don’t hesitate to reach out for help. A botched brake job can cost a lot more than a timely professional repair." — John Morrison, Auto Repair Specialist
And hey, if you’re unsure about any step of the process – say, removing the wheel or reinstalling with the right torque – no shame in passing the baton to a pro. After all, working on car maintenance is like cooking steak—better done right the first time than coming back to fix it later.
| Symptom | Possible Cause | Recommended Action |
|---|---|---|
| Squealing Noise | Pad misalignment | Check alignment or see a pro |
| Mushy Pedal | Air in brake lines | Bleed brakes or consult expert |
| Uneven Pad Wear | Caliper problem | Get professional inspection |
Essentially, trust your gut. If your car feels or sounds off, get someone who knows their stuff to check it out. Your wheels—and your peace of mind—will thank you!
Tips for Choosing the Right Brake Pads
Picking the right brake pads isn't something to be done on a whim. They’re crucial for your car’s performance and your safety. So, how do you know which ones to buy? Let’s break it down so you can make a smart choice without feeling stressed.
First up, consider what you’re driving. Different cars need different types of brake pads. Heavy vehicles, for instance, need pads that can handle more heat. So, knowing your car’s needs is step one.
Next, think about the types of brake pads. Here are the common ones:
- Ceramic brake pads: Known for being quiet and producing less dust. Ideal if you’re using your car for daily commutes and you want a smooth, quiet ride.
- Metallic brake pads: More durable and great for high performance, but they can be noisy and produce more dust.
- Organic brake pads: Usually the cheapest. They are quiet and don't produce much dust but wear out quicker and aren’t ideal for heavy-duty use.
Your driving style is something else to think about. If you’re like Lewis Hamilton and love to drive fast, you’ll want something like the metallic pads that can handle the heat. But if you’re mostly just tooling around town, ceramics might be your best bet.
Budget also plays a big role. Brake pads come in a range of prices. While you might want to save a few quid, remember that you often get what you pay for. So it's useful to balance cost with performance and longevity.
You might find some interesting performance numbers and lifespans when comparing brake pads. Check out the stats below:
| Type | Lifespan (miles) | Average Cost (£) |
|---|---|---|
| Ceramic | 30,000 - 70,000 | £50 - £100 |
| Metallic | 20,000 - 60,000 | £40 - £90 |
| Organic | 20,000 - 40,000 | £20 - £50 |
Finally, don’t forget to check for any reviews or recommendations from other car owners. Sometimes those firsthand experiences can be the best nudge you need to make an informed decision.