Brake Pad Replacement Estimator
Job Configuration
Estimated Savings
by doing it yourself.
Essential Tool Checklist
Step-by-Step Guide
There is a moment every driver faces when that high-pitched squeal starts echoing from the wheels. It’s annoying, but more importantly, it’s a warning. Your brakes are wearing out. The immediate question that pops into your head is usually: "Can I fix this myself, or do I need to pay a mechanic $300?" The short answer is yes, changing brake pads is one of the most accessible DIY car repairs you can tackle. But let’s be honest about what "easy" means here. It isn’t as simple as swapping a lightbulb. It requires specific tools, a bit of mechanical sympathy, and a healthy respect for safety.
If you have a basic understanding of how cars work and aren’t afraid of getting your hands dirty, you can absolutely do this job. If you’ve never touched a wrench in your life, you might want to watch a few videos first. This guide breaks down exactly what goes into the process, why some jobs are harder than others, and how to ensure you don’t compromise your safety.
Understanding the Job: What Are You Actually Doing?
To judge if the job is easy for you, you first need to know what the task involves. When you replace brake pads, you are essentially removing the worn friction material that clamps onto the rotor (the metal disc) to stop the wheel from spinning. Over time, these pads wear down to almost nothing.
The process generally follows these steps:
- Lifting the vehicle safely on jack stands.
- Removing the wheel.
- Unbolting the caliper (the part that holds the pads).
- Compressing the brake piston back into its housing.
- Swapping the old pads for new ones.
- Reassembling everything and bedding in the new pads.
For many modern front-wheel-drive cars, this takes about an hour per axle. However, "easy" is relative. A Honda Civic with standard sliding calipers is straightforward. A luxury sedan with complex electronic parking brakes or rear drum-in-hat setups adds layers of complexity. Always check your specific vehicle’s manual or online forums before buying parts.
Tools You Need Before You Start
You cannot change brake pads with just a screwdriver and hope. Having the right tools makes the job feel easy; lacking them makes it a nightmare. Here is the essential toolkit:
| Tool | Purpose | Why It Matters |
|---|---|---|
| Jack and Jack Stands | Lifting and supporting the vehicle | Safety critical. Never rely on a hydraulic jack alone. |
| Lug Wrench / Impact Socket | Removing wheels | Wheels are often tight; a breaker bar helps. |
| C-Clamp or Piston Tool | Compressing the caliper piston | Required to make room for thicker new pads. |
| Socket Set and Ratchet | Removing caliper bolts | Usually 12mm to 17mm sizes depending on car. |
| Brake Cleaner | Cleaning rotors and calipers | Removes grease and dust for proper performance. |
One pro tip: Buy a dedicated piston compression tool rather than using a C-clamp if your car has rear disc brakes with integrated parking brakes. Some modern pistons require rotation while compressing, which a simple C-clamp cannot do without damaging the seal.
Step-by-Step: The Core Process
Let’s walk through the actual execution. We will focus on the front brakes, as they take the majority of braking force and are typically easier to access.
- Loosen Lug Nuts: Before lifting the car, loosen the lug nuts slightly. Do not remove them yet. This prevents the wheel from spinning once lifted.
- Lift and Secure: Jack up the car at the manufacturer’s recommended lift point. Place jack stands under solid frame points. Shake the car to ensure stability. Remove the wheel.
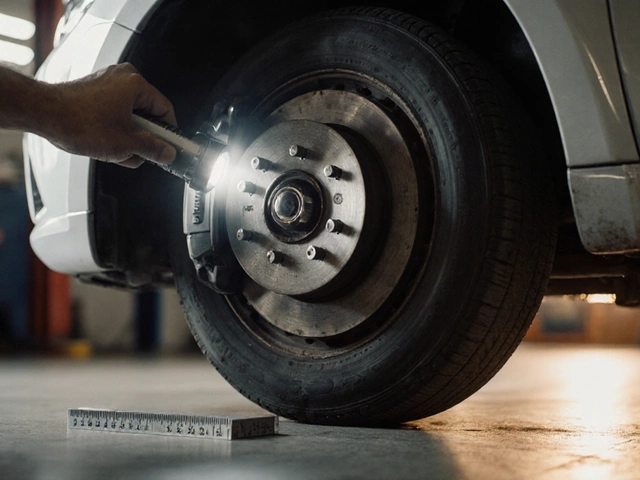
- Inspect the Caliper: Look at the caliper bracket. There are usually two bolts holding it in place. Note where any clips or shims go-they often fall out and are easy to lose.
- Remove the Caliper: Unbolt the caliper. Hang it from the suspension coil spring with a piece of wire or bungee cord. Never let it dangle by the brake hose; this can kink or break the line.
- Swap the Pads: Slide the old pads out. Clean the caliper bracket with brake cleaner. Install the new pads. If your new pads come with hardware clips, install those now.
- Compress the Piston: This is the tricky part. Use your C-clamp or piston tool to push the caliper piston back into its bore until it is fully retracted. This creates space for the new, thicker pads.
- Reassemble: Place the caliper back over the new pads. Tighten the caliper bolts to the manufacturer’s torque specification. Reinstall the wheel and lower the car.
The Hidden Challenges: Why It Might Not Be "Easy"
Even with the right steps, things can go wrong. Here are the common pitfalls that turn an easy job into a frustrating afternoon.
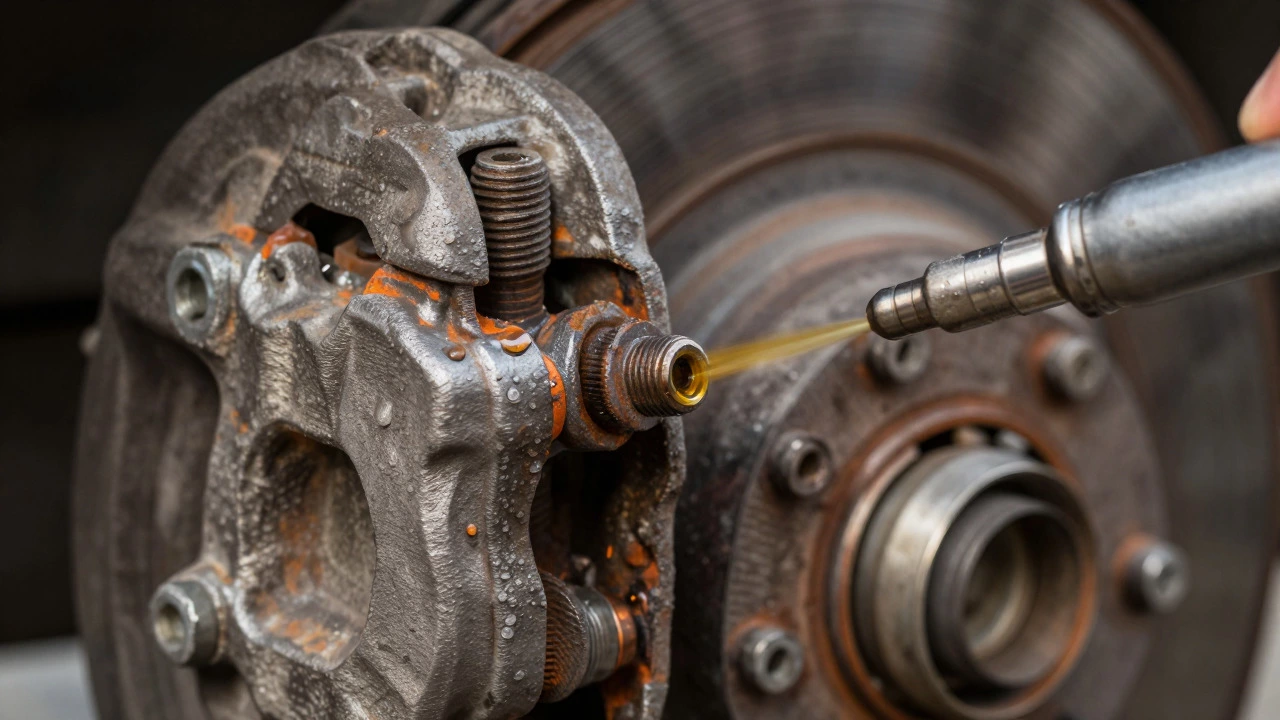
Stuck Bolts: Rust and corrosion love brake components. If your car has seen salt roads or heavy rain, the caliper bolts may be seized. Penetrating oil (like PB Blaster) applied hours before the job can help. In worst-case scenarios, you might strip a bolt, requiring extraction tools.
Piston Seals: When you compress the piston, you are stretching the rubber boot behind it. If the seal is old and brittle, it can tear, causing fluid leaks. Inspect the piston area closely. If you see cracks or leaks, you may need to rebuild the caliper or replace it entirely.
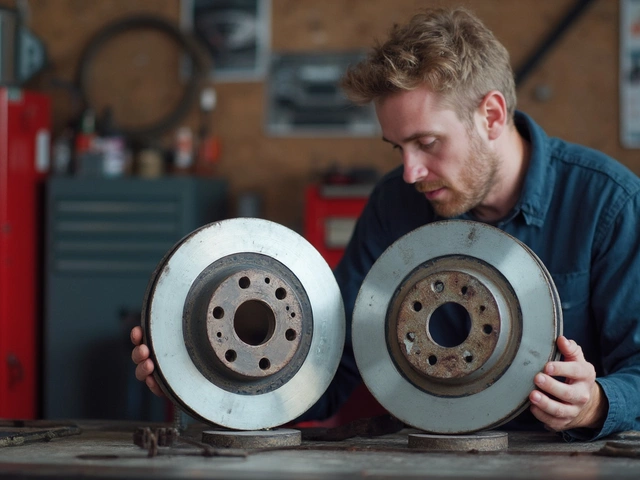
Rotor Condition: New pads on warped or scored rotors will cause vibration and noise. While not strictly part of pad replacement, checking rotor thickness is crucial. If the rotors are below minimum thickness, they must be replaced. This doubles the cost and labor but ensures smooth braking.
Safety First: Non-Negotiable Steps
Brakes are a safety-critical system. Cutting corners here is dangerous. Follow these rules:
- Torque Specs Matter: Use a torque wrench. Over-tightening caliper bolts can crack the caliper body. Under-tightening can lead to loose components. Consult your service manual for exact numbers (usually between 25-40 Nm for caliper bolts).
- Bleed the Brakes: Compressing the piston pushes brake fluid back into the master cylinder. If the reservoir is full, fluid might overflow. Check the level after compression. If air entered the lines (rare if done correctly), you’ll need to bleed the brakes to remove spongy pedal feel.
- Bed-In Procedure: New pads need to transfer a thin layer of material onto the rotor to work effectively. Find a safe, empty road. Accelerate to 30 mph, then brake firmly to 5 mph. Repeat 5-10 times. Avoid coming to a complete stop during this process to prevent glazing.

When to Call a Professional
Despite being a DIY-friendly task, some situations warrant professional help. Consider hiring a mechanic if:
- Your car has an Electronic Parking Brake (EPB). These require diagnostic software to retract the rear pistons manually.
- You lack the physical strength to lift the car or use impact tools.
- The caliper slides are seized. Fixing this requires disassembly, cleaning, and lubrication of multiple small parts.
- You notice uneven wear on the pads, indicating alignment or suspension issues.
Remember, paying a mechanic isn’t a failure; it’s an investment in peace of mind if you’re unsure about any step.
Maintaining Your Brakes After Replacement
Once your new pads are installed, maintenance extends their life. Drive gently for the first 200 miles to allow the bed-in process to complete. Avoid aggressive driving immediately after installation. Regularly inspect your brake fluid levels and condition. Brake fluid absorbs moisture over time, which lowers its boiling point and can lead to fade under heavy use. Flush your brake fluid every two years or 30,000 miles, whichever comes first.
Listen to your car. If you hear grinding, squealing, or feel pulsation in the pedal, address it immediately. Ignoring these signs leads to more expensive repairs down the line, such as damaged rotors or calipers.
How long does it take to change brake pads?
For a beginner, expect to spend 1.5 to 2 hours per axle. Experienced DIYers can often complete both front brakes in under an hour. Time varies based on rust, tool availability, and vehicle design.
Do I need to replace rotors when changing pads?
Not always. If your rotors are smooth, free of deep grooves, and above the minimum thickness specification, you can reuse them. However, replacing rotors with new pads is recommended for optimal performance and longevity.
Can I drive with worn brake pads?
You should avoid driving with severely worn pads. Once the metal backing plate contacts the rotor, you risk damaging the rotor and reducing stopping power significantly. Replace them as soon as the wear indicator squeals.
What type of brake pads should I buy?
Semi-metallic pads offer good performance and heat dissipation but can be noisy. Ceramic pads are quieter and produce less dust but may cost more. Choose based on your driving style and budget. Always buy quality brands compatible with your vehicle.
Is it safe to change only front brake pads?
Yes, front pads wear faster due to weight transfer during braking. It is common to replace fronts independently. However, always replace pads in pairs (both left and right sides) to ensure balanced braking.