Fuel Pump Replacement Checklist Generator
Configure Your Vehicle
Your Maintenance Plan
- Select options and click Generate to see your custom checklist.
You’ve just paid for a new fuel pump is an electric motor-driven device that delivers fuel from the tank to the engine at high pressure. It’s a significant investment, often costing between £300 and £600 including labor. But here is the hard truth: swapping out the pump alone rarely solves the underlying problem. If you ignore the surrounding components, you risk killing your brand-new pump within weeks. So, what else needs to go?
The short answer is the fuel filter is a component that removes contaminants like rust, dirt, and water from the fuel before it reaches the engine. But that is just the tip of the iceberg. A proper repair job looks at the entire fuel delivery system as one unit. Let’s break down exactly what you need to inspect, replace, or clean to ensure your car runs smoothly and your warranty holds up.
The Non-Negotiables: What Must Be Replaced
Some parts are worn out by design. They have a finite lifespan, and ignoring them is like changing your tires but keeping the old, bald rims. Here are the items you should almost always swap out when touching the fuel system.
1. The Fuel Filter
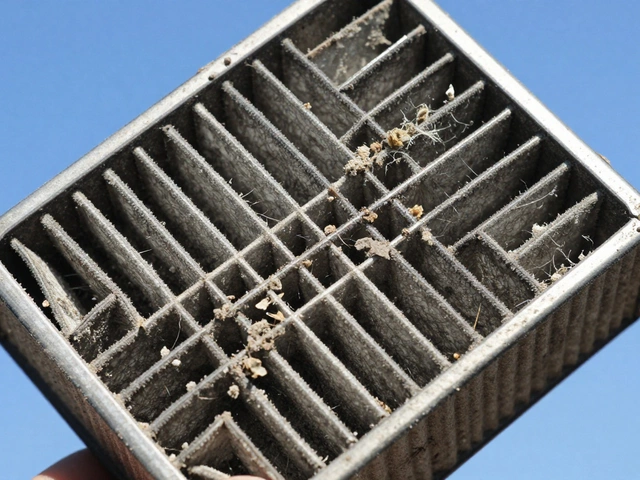
This is the most critical companion to a fuel pump. Over time, filters clog with sediment, varnish, and microscopic debris. When a filter gets restricted, the fuel pump has to work harder to push gas through it. This extra strain is often what burns out the pump in the first place. If you install a high-flow new pump behind a dirty, restrictive filter, you are defeating the purpose.
Check your vehicle’s service manual. In many modern cars built after 2005, the fuel filter is integrated into the fuel pump assembly inside the tank. If this is the case, replacing the pump automatically replaces the filter. However, in older vehicles or diesel engines, the filter is usually located under the hood or along the frame rail. These external filters must be replaced every 30,000 to 40,000 miles. Never skip this step.
2. The Fuel Pressure Regulator (If Applicable)
Not all cars have these anymore-many modern direct-injection engines use electronic control to manage pressure-but if your car has a mechanical regulator, it deserves attention. The regulator maintains consistent fuel pressure by bleeding excess fuel back to the tank. A failing regulator can cause lean or rich running conditions, which stresses the pump.
If your regulator is mounted on the fuel rail (common in port-injected gasoline engines), it is accessible while you are working on the fuel system. If it shows signs of leaking fuel or sticking, replace it. It is a cheap part compared to the labor already being done. For vehicles where the regulator is part of the pump module (common in some Fords and GMs), check the specifications of your new pump kit to ensure the regulator is included or functioning correctly.
3. O-Rings and Seals
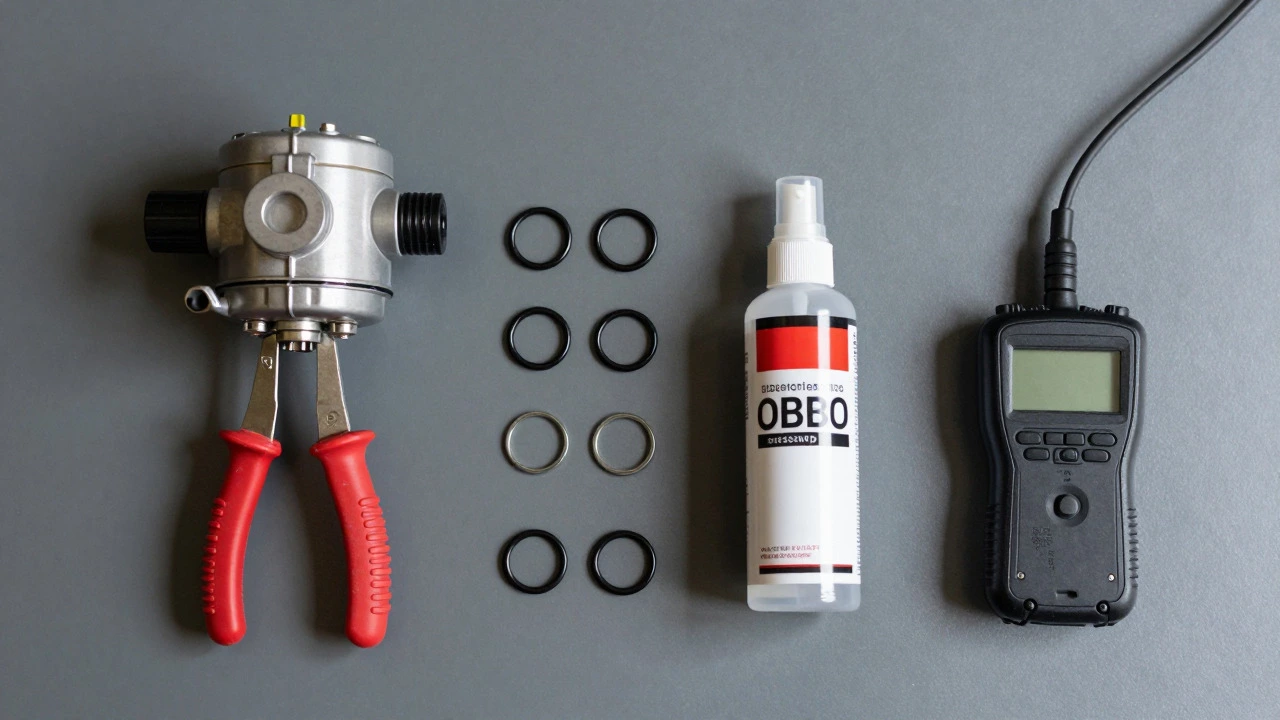
Leakage is the enemy of performance and safety. Every time you disconnect fuel lines or remove the pump module, you disturb seals. Old rubber o-rings become brittle, crack, or lose their elasticity. Even a microscopic leak can introduce air into the fuel line, causing vapor lock or hesitation when you accelerate.
Always buy a new seal kit with your fuel pump. This typically includes:
- The large o-ring that seals the pump module to the fuel tank sender unit.
- O-rings for the electrical connector housing.
- Seals for any inline fittings.
Do not reuse old o-rings. They cost pennies but can save you hours of diagnostic trouble later.
The "Inspect and Clean" List
Not everything needs to be thrown away, but everything needs to be checked. Reusing contaminated parts is a recipe for disaster.
4. The Fuel Tank Interior
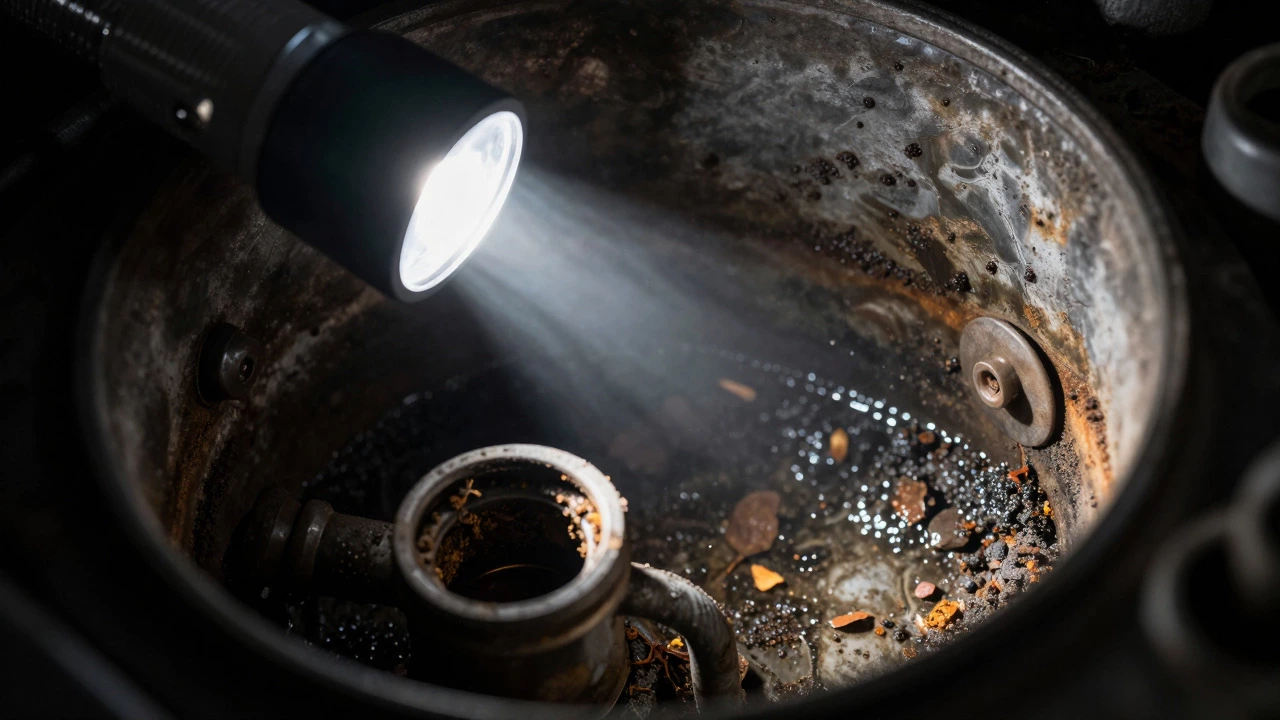
Why did the pump fail? Often, it’s because the bottom of the fuel tank became a sludge pit. Rust flakes, plastic debris from the tank walls, and carbon buildup settle at the bottom. The fuel pump sits right there, sucking it all up. If you drop a shiny new pump into a dirty tank, it will fail again quickly.
Once the pump module is out, shine a flashlight into the tank. If you see significant sediment, you have two options:
- Clean it: Use a vacuum cleaner designed for liquids and solids to suck out the sludge. Follow this with a rinse using a small amount of fresh gasoline (carefully) or a specialized tank cleaner, then dry it thoroughly.
- Replace it: If the tank is severely rusted or cracked, cleaning won’t help. A new tank is expensive, but a second failed pump is worse.
Also, inspect the pickup tube strainer (the sock filter). If it’s clogged or torn, replace it. Some aftermarket pumps come with a new strainer; if yours doesn’t, buy one separately.
5. Fuel Lines and Hoses
Fuel lines degrade over time due to heat, vibration, and chemical exposure. Look for cracks, bulges, or soft spots in the rubber hoses connecting the tank to the engine bay. Metal lines should be checked for corrosion or dents that restrict flow.
If your car is more than 15 years old, consider replacing the rubber supply and return lines. It is easy to access them while the tank is lowered or removed. Using old, hardened hoses can create restrictions that mimic a failing pump, leading to misdiagnosis later.
6. Electrical Connectors
Fuel pumps draw a lot of current. Corrosion in the electrical connector can increase resistance, causing voltage drops. This makes the pump run slower and hotter, reducing its lifespan. Inspect the pins and sockets for green or white crusty residue. Clean them with electrical contact cleaner and dielectric grease. If the plastic housing is cracked, replace the connector harness.
Scenario-Based Recommendations
Your specific needs depend on your vehicle type. Here is how to prioritize based on common scenarios.
| Vehicle Type | Must Replace | Highly Recommended | Optional / Inspect Only |
|---|---|---|---|
| Modern Gasoline (Post-2010) | Fuel Pump Module (includes filter) | O-rings, Pickup Strainer | Fuel Lines (if no leaks) |
| Older Gasoline (Pre-2005) | Fuel Pump, External Fuel Filter | Fuel Pressure Regulator, Rubber Hoses | Tank Cleaning |
| Diesel Engine | Fuel Pump, Primary & Secondary Filters | Water Separator, Lift Pump | Glow Plugs (if due) |
| Direct Injection (GDI) | Fuel Pump, High-Pressure Pump Check | Injector Cleaner Service | Fuel Rail Inspection |
Common Mistakes to Avoid
I’ve seen too many mechanics-and DIYers-rush this job. Here is how to avoid the pitfalls.
Priming the System Incorrectly
After installation, you must prime the fuel system before turning the key. Modern cars do this automatically when you turn the ignition to "On" (without starting the engine) for three seconds. Repeat this three times. Listen for the hum of the pump. If you crank the engine immediately, it may take longer to start, and you risk flooding the cylinders or damaging the starter.
Ignoring the Ground Wire
A poor ground connection is a silent killer. The fuel pump ground wire usually attaches to the chassis near the fuel tank. If this bolt is rusty or loose, the pump struggles. Clean the grounding point to bare metal and apply anti-corrosion spray. This simple step can add years to your pump’s life.
Using Cheap Aftermarket Parts
Fuel pumps are precision instruments. Cheap aftermarket units often have weaker motors or inferior seals. Stick to OEM (Original Equipment Manufacturer) or reputable brands like Bosch, Denso, or Walbro. The price difference is small compared to the cost of a repeat visit.
Final Checks Before You Drive
Before you put the car back on the road, perform these final checks:
- Visual Inspection: Look for any fuel leaks around the connections and the tank filler neck.
- Pressure Test: If you have a gauge, verify that the fuel pressure matches the manufacturer’s specification (usually found in the service manual).
- Idle Quality: Start the engine and let it idle. It should be smooth, without surging or stalling.
- Scan for Codes: Plug in an OBD2 scanner. Sometimes, low fuel pressure triggers a P0087 (Fuel Rail/System Pressure Too Low) code that needs to be cleared.
Replacing a fuel pump is not just about swapping a part. It is about restoring the health of your entire fuel delivery system. By taking the time to replace the filter, clean the tank, and check the lines, you ensure that your new pump lasts as long as it should. Don’t cut corners today to save money tomorrow.
Do I need to replace the fuel filter if my car has an in-tank pump?
In most modern vehicles, the fuel filter is integrated into the fuel pump assembly inside the tank. When you replace the pump module, you are automatically getting a new filter. Check your owner’s manual or parts diagram to confirm if your model uses an integrated filter or a separate external one.
How long does a new fuel pump last?
A quality fuel pump typically lasts between 100,000 and 150,000 miles. However, this depends heavily on driving habits, fuel quality, and whether the fuel filter was replaced regularly. Running the tank empty frequently can shorten its life by overheating the pump.
Can I replace the fuel pump myself?
It is possible for experienced DIYers, but it is not a beginner job. Accessing the pump often requires removing the rear seats, dropping the fuel tank, or dealing with tight spaces under the car. You also need to safely depressurize the fuel system before starting. If you are unsure, professional installation is recommended.
What are the signs of a failing fuel pump?
Common symptoms include difficulty starting the engine, sputtering at high speeds, loss of power during acceleration, and whining noises coming from the rear of the car. In severe cases, the car may stall unexpectedly or fail to start altogether.
Should I clean the fuel tank when replacing the pump?
Yes, highly recommended. Debris and sediment accumulate at the bottom of the tank and can clog the new pump’s intake. Vacuuming out the sludge and inspecting the pickup strainer prevents premature failure of the new pump.