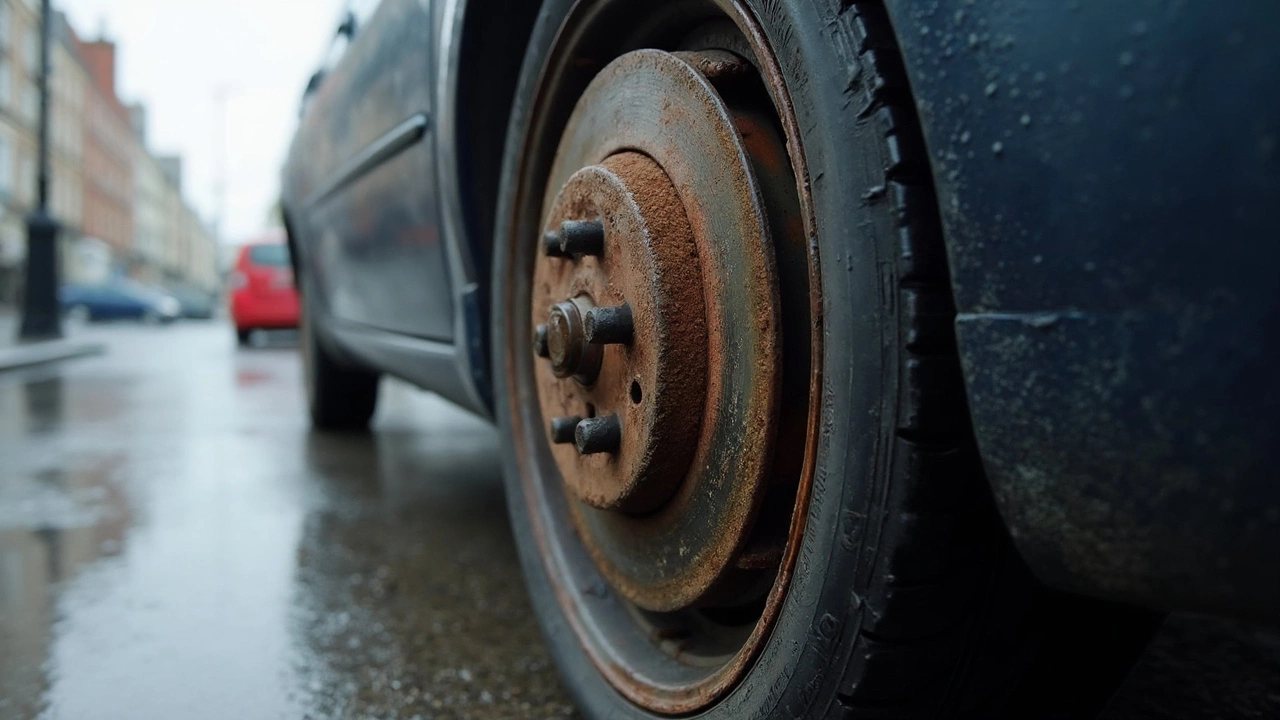
If your car vibrates when you brake or makes a squealing noise, the rotors are probably the culprit. Rotors are the metal discs that the brake pads squeeze to slow you down. When they get warped, cracked, or too thin, they compromise safety and comfort. The good news? Most rotor problems can be fixed without a trip to a pricey garage, as long as you follow a clear plan.
Rotors wear out for three main reasons: heat, wear, and impact. Heavy braking in traffic or down a hill builds heat, which can cause the metal to warp. Regular driving slowly wears the surface, making it uneven. Hitting a pothole or curb can crack the disc. Ignoring these signs means longer stopping distances, pulsating brake pedals, and eventually, a complete brake failure.
Common symptoms include:
When you notice any of these, check the rotor thickness with a micrometer. Most manufacturers set a minimum thickness – usually around 0.5 mm for passenger cars. If you’re below that, replace the rotor instead of trying to resurface it.
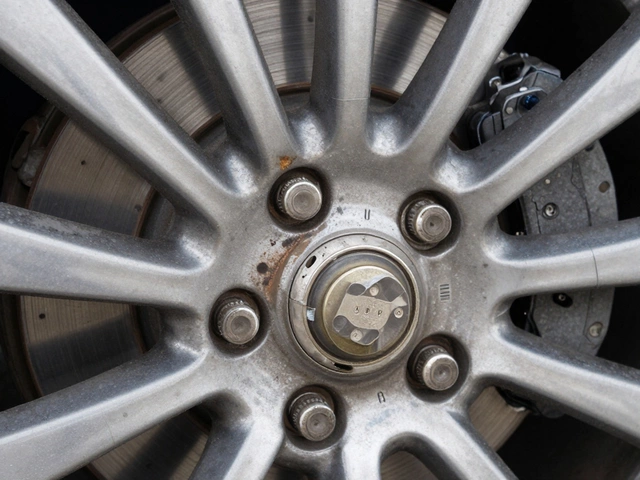
Before you start, gather these basic tools: a jack and stands, a lug wrench, a socket set, a C‑clip plier, a torque wrench, and a rotor turner or a large screwdriver. You’ll also need new brake pads if the old ones are worn, and optionally a rotor resurfacing kit if the disc is only slightly warped.
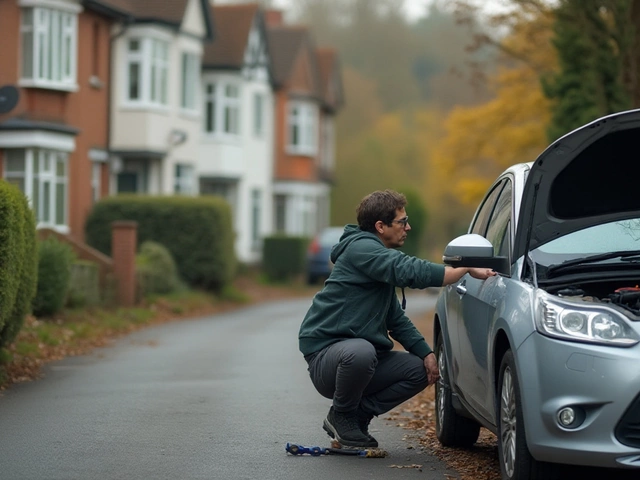
Step‑by‑step:
If you feel any grinding or the car still pulls to one side after the repair, the problem might be with the caliper or the brake fluid. In those cases, it’s best to let a professional handle it.
Fixing rotors yourself can save you £50‑£150 compared to a garage, but safety always comes first. Double‑check torque values, keep the work area clean, and never skip the test drive. When in doubt, call Northwich Tyres Centre – we have the tools, parts, and experience to get your brakes perfect.
 27 May 2025
Rotors are easy to ignore, but worn or damaged ones can make your car unsafe and cost you more in repairs. This article breaks down the most common signs your rotors are bad, what those symptoms actually mean, and how to check them yourself. You’ll get clear tips so you know when it’s time for new rotors or just a simple fix. Learn why paying attention to rotor health saves money—and maybe even an accident. Don’t wait until your brakes fail in traffic.


©2026 northwichtyrescentre.co.uk. All rights reserved
0