If your car complains when you shift, you might be looking at a busted clutch. You don’t need a garage to sort it out – with the right tools and a clear plan you can get the job done yourself. Below you’ll find the most common clutch issues, how to spot them, and a step‑by‑step guide to replace the clutch on a typical manual transmission.
First, figure out what’s wrong. A slipping clutch feels like the engine revs but the car doesn’t speed up. A hard‑to‑press pedal means the release bearing or hydraulic system is failing. If you hear a sour smell, the clutch disc is probably burning. Finally, a grinding noise when you engage first gear points to a damaged gear synchroniser.
Do a quick test: start the car, press the clutch, shift into second, and let go. If the engine stalls or the car jerks, you’ve got a problem. Write down the symptoms – they’ll guide you when you order parts.
Tools you’ll need: jack and jack stands, socket set, torque wrench, clutch alignment tool, flywheel holder, and a screwdriver set. Most of these you can rent if you don’t own them.
1. Safety first. Park on a flat surface, engage the handbrake, and block the rear wheels. Raise the front of the car and secure it on stands. Never work under a car that isn’t properly supported.
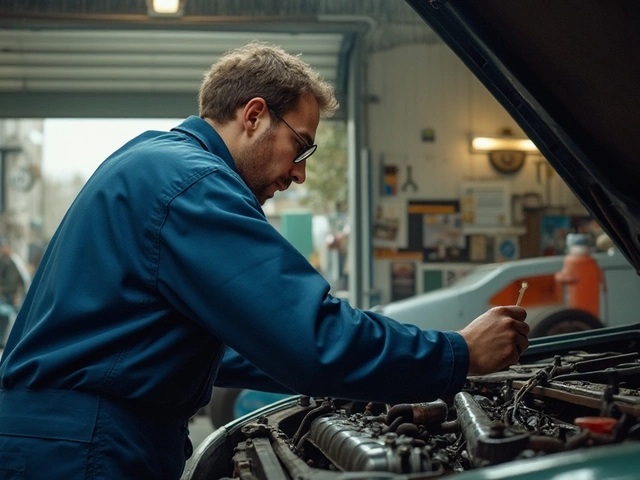
2. Remove the transmission. Disconnect the battery, then take out the driveshaft, shift linkage and any electrical connectors. Unbolt the bell housing bolts in a criss‑cross pattern to avoid warping. Slide the transmission back and lower it onto the floor.
3. Inspect the flywheel. Use a flywheel holder to keep it steady. Look for cracks, hot spots or uneven wear. If the surface isn’t smooth, have it resurfaced or replace it – a bad flywheel will ruin a new clutch.
4. Replace the clutch kit. Press the old pressure plate and clutch disc out with a suitable tool. Clean any old oil from the clutch housing. Install the new clutch disc with the spring side facing the engine, line up the alignment pins, and bolt the new pressure plate. Torque the bolts to the manufacturer’s spec (usually around 20‑30 Nm).
5. Re‑assemble. Put the transmission back, reconnect all linkages, and refill the hydraulic fluid if you have a hydraulic clutch. Double‑check the clutch pedal free play – it should be about 1‑2 cm.
6. Test drive. Start the engine, press the clutch, and shift through all gears. Listen for any noises and feel for smooth engagement. If anything feels off, re‑inspect the installation before driving far.
Doing a clutch repair yourself can save you up to £200‑£300 compared with a shop. It also gives you a better understanding of how your car works, which helps with future maintenance.
Still unsure? Our team at Northwich Tyres Centre can help you source the right clutch kit and give advice on any step you’re stuck on. Whether you’re a first‑timer or an experienced DIYer, a little preparation and patience go a long way toward a successful clutch repair.
 26 June 2025
Learn proven techniques to fix a slipping clutch without replacing it. Get DIY tips, real solutions, and interesting facts to save money and drive smoothly.


©2026 northwichtyrescentre.co.uk. All rights reserved
0