If your car’s clutch is slipping, makes a strange smell, or won’t fully engage, it’s time to think about a replacement. You don’t have to be a garage‑owner to tackle the job, but you do need the right plan, tools, and a bit of patience. Below is a practical walk‑through that covers everything from safety checks to the final break‑in period.
Before you lift the car, gather these basics: a hydraulic floor jack and jack stands, socket set (including deep‑well sockets), torque wrench, clutch alignment tool, flywheel holder, and a set of pry bars. A good mechanic’s glove and safety glasses are a must – a stray bolt can turn into a painful surprise.
Start by parking on a flat surface, engage the handbrake, and block the rear wheels. Raise the front of the car just enough to slide the jack stand‑supported jack underneath the chassis. Double‑check that the vehicle is stable before you get under it. Never work on a car that’s only on a jack; always use stands.
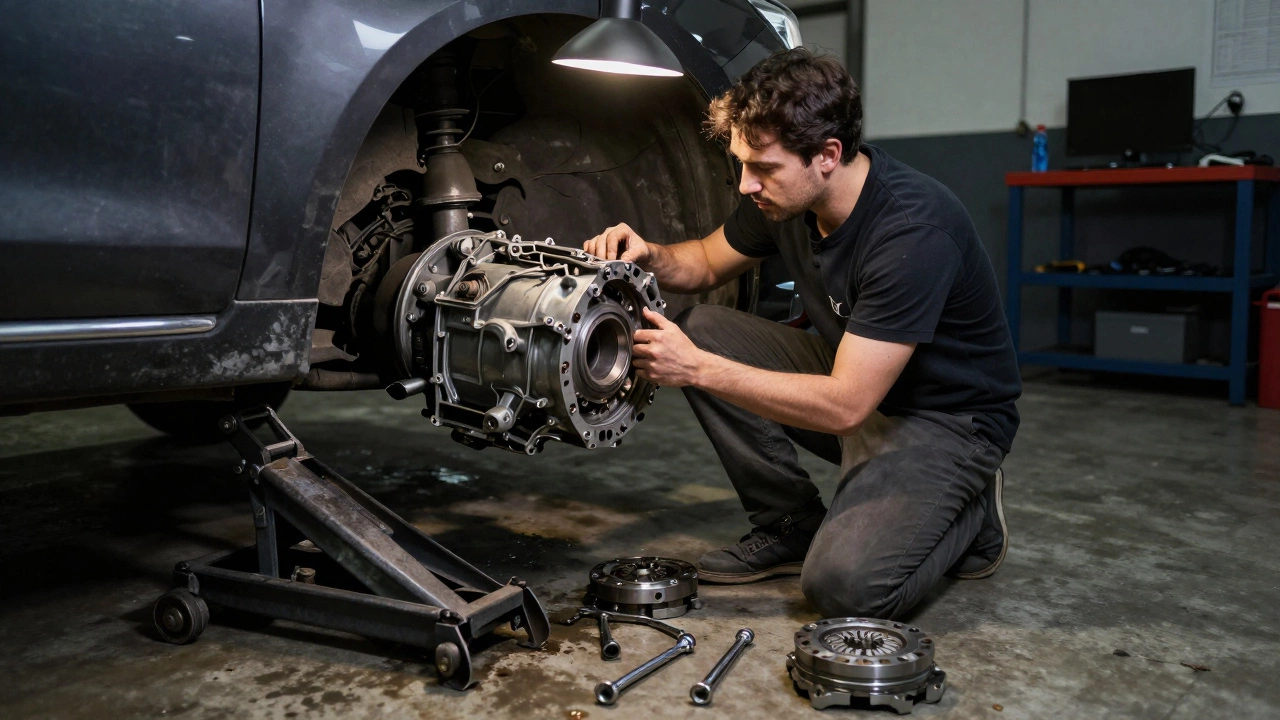
First, remove the transmission. Disconnect the clutch hydraulic line or cable, take off the starter motor if it blocks access, and unbolt the transmission bell housing. Let the transmission slide back gently; you may need a transmission jack for heavier setups.
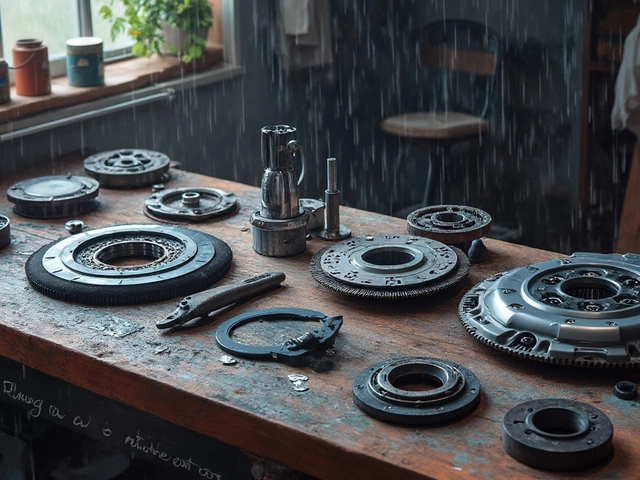
With the transmission out of the way, inspect the flywheel. Look for cracks, hot spots, or excessive wear. If the surface isn’t smooth, have it resurfaced or replace it. Clean all mating surfaces with a brake‑cleaner spray and a lint‑free cloth.Now install the new clutch disc. Place the disc on the flywheel, line up the splines, and use the clutch alignment tool to keep it centered. Slide the pressure plate over the disc, making sure the springs sit evenly. Hand‑tighten the pressure‑plate bolts in a star pattern, then use the torque wrench to tighten them to the manufacturer’s specification (usually around 30‑40 Nm).
Before you bolt the transmission back, double‑check the input shaft depth. Some kits include a depth gauge; the clutch should sit flush against the flywheel without forcing the transmission forward. Once confirmed, lift the transmission back into place, align the bolts, and torque them to spec.
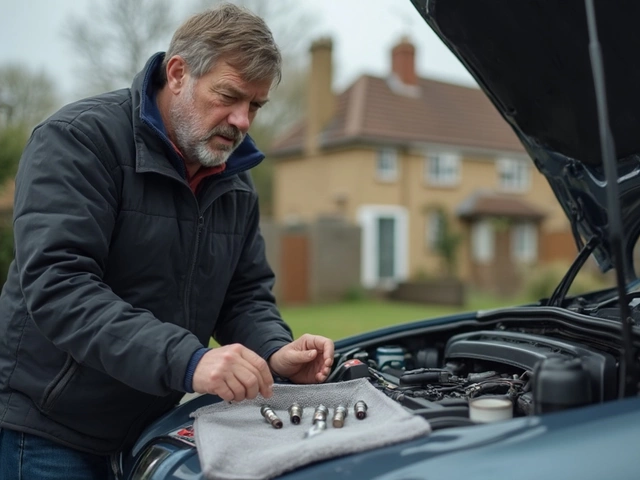
Reconnect the hydraulic line or cable, reinstall the starter, and lower the car. It’s time for a test drive, but first, break in the new clutch. Press the clutch pedal a few times with the engine off to seat the disc. Then, drive gently for the first 100‑200 miles – avoid hard launches and hill holds until you feel the clutch bite consistently.
Cost-wise, a basic clutch kit (disc, pressure plate, release bearing) runs between £120‑£250, depending on make and performance level. Labor at a local garage can add another £150‑£300. If you do the work yourself, you’ll save the labor cost, but factor in time and the possibility of a mis‑step that could cost more later.
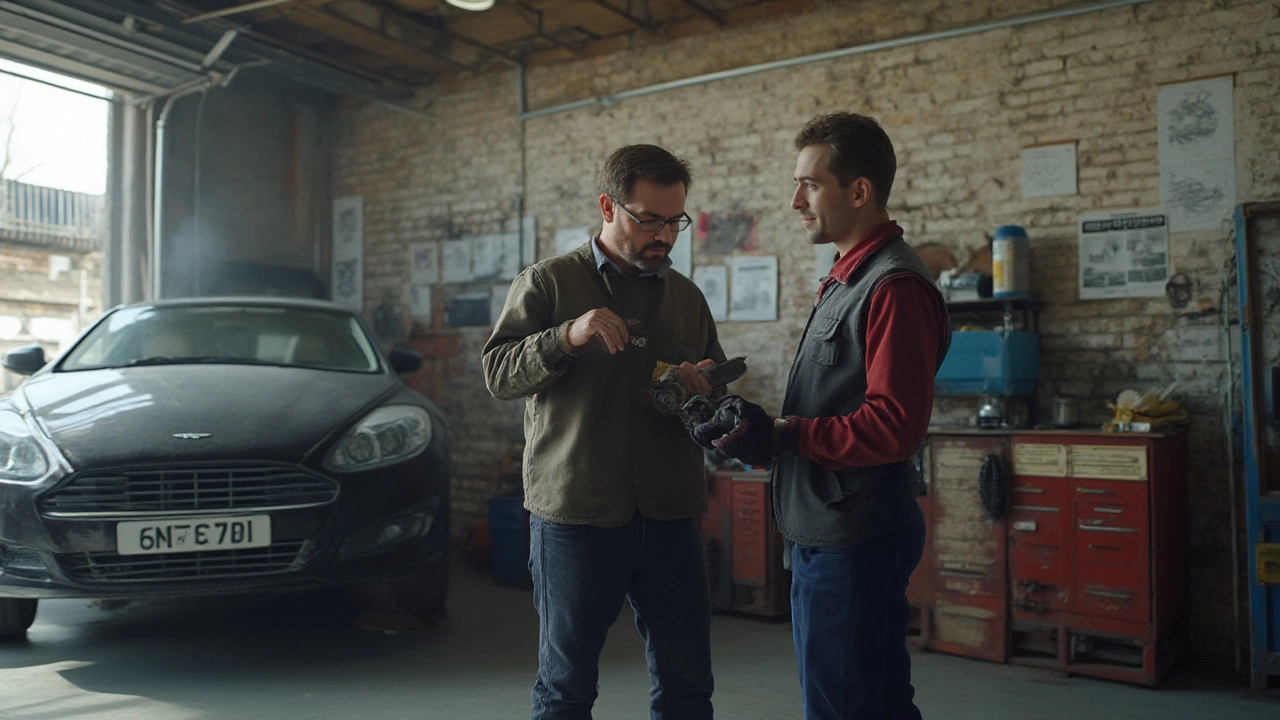
When should you call a professional? If the flywheel is warped, the transmission feels stuck, or you lack a transmission jack, it’s safer to hand the job to a shop. Also, if you notice a sudden loss of clutch pressure after a short drive, something might be wrong with the hydraulic system – a pro can diagnose it quickly.In the end, a proper clutch installation restores your car’s power and keeps the gearbox happy. Follow the steps, respect torque specs, and give the new clutch a gentle break‑in. If you hit any snags, your local Northwich Tyres Centre can supply quality parts and advice, or you can swing by for a quick check‑up.
 25 December 2025
Replacing a clutch isn't easy-it's complex, time-consuming, and risky if done wrong. Learn what's really involved, when to DIY, and when to hire a pro to avoid costly mistakes.
 3 July 2025
Curious about clutch kit replacement time? Get the real hours, essential tips, step-by-step repair insights, and honest advice for DIY and mechanic installs, all in simple words.
©2026 northwichtyrescentre.co.uk. All rights reserved


0