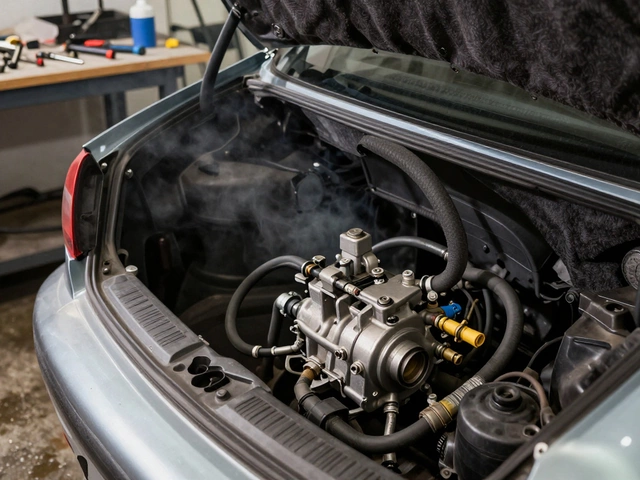
If your temperature gauge is climbing or steam is popping out of the hood, it’s time to think about the radiator. A failing radiator can ruin an engine fast, but swapping it out isn’t as scary as it sounds. Below you’ll get the key signs that a replacement is needed, the tools you’ll need, and a step‑by‑step walk‑through you can follow at home.
First, spot the tell‑tale signs. Look for coolant leaks under the car, a rusty smell, or an oily film on the radiator surface. If the coolant level keeps dropping even after a flush, the core is probably corroded. A radiator that can’t keep the engine under 210°F (99°C) during a short drive is another red flag. Don’t wait for a total breakdown – catching the problem early saves money and prevents heat‑related engine damage.
Gather a few basics: a socket set, a drain pan, new coolant, the replacement radiator (check the exact model for your vehicle), hose clamps, and a screwdriver. Having a service manual handy helps, but most modern cars follow similar steps. Make sure the engine is cool before you start – hot coolant can cause serious burns.Here’s the quick rundown:
1. **Drain the coolant** – Open the drain plug or remove the lower radiator hose and let the fluid flow into the pan. Keep the plug handy for reinstallation.
2. **Remove the old radiator** – Disconnect the upper and lower hoses, the transmission cooler line (if equipped), and any electrical connectors for fans. Undo the mounting bolts and carefully lift the radiator out of the engine bay.
3. **Prep the new radiator** – Compare it with the old one to ensure the brackets line up. Transfer any mounting brackets or sensor tubes from the old unit to the new one.
4. **Install the new radiator** – Slide it into place, bolt it down, and reconnect all hoses and lines. Double‑check that clamps are snug but not over‑tightened.
5. **Refill and bleed** – Fill the system with the correct mix of coolant and water. Run the engine with the radiator cap off, letting it reach operating temperature so air bubbles escape. Top up as needed, then replace the cap.
6. **Test for leaks** – After the engine warms up, inspect all connections. A small drip can be fixed with a tighter clamp; a big leak means you may have missed a hose or bolt.
That’s the core process. Most of the time it takes an afternoon, and you’ll avoid a costly shop bill. If you’re not comfortable with the transmission line or cooling‑system sensors, a quick call to Northwich Tyres Centre can get you professional help without breaking the bank.
Remember, a good radiator works with the rest of the cooling system. A radiator flush every two years helps prevent rust and mineral buildup, extending the life of the new unit. Use a proper coolant for your car’s make – mixing the wrong type can cause corrosion fast.
By spotting the warning signs early and following these straightforward steps, you’ll keep your engine at the right temperature and stay safe on the road. Got questions or need a fresh radiator? Northwich Tyres Centre has a range of options and can fit it for you quickly. No more steam, no more panic – just a cool ride every day.
 23 July 2025
Wondering how many miles car radiators last? Learn about radiator lifespans, factors shortening the duration, and smart ways to keep your cooling system healthy.


©2026 northwichtyrescentre.co.uk. All rights reserved
0