Suspension Noise Diagnostic & Cost Estimator
Select a noise type to begin diagnosis.
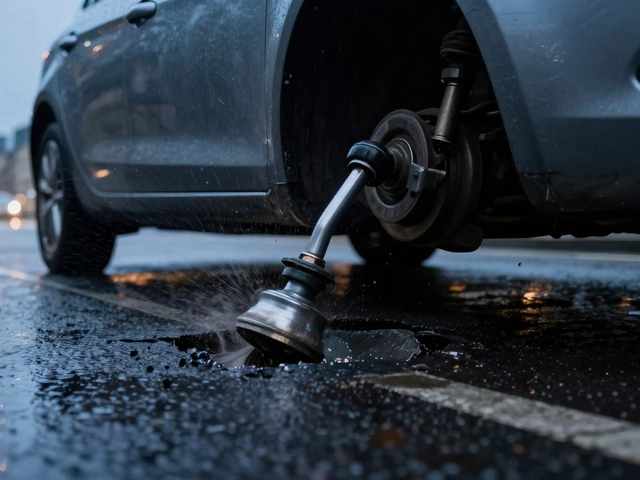
There is a specific type of sound that every car owner dreads. It’s not the engine knocking or the brakes squealing; it’s that rhythmic clunk, rattle, or thud coming from underneath the chassis as you hit a pothole or turn into a tight corner. If your vehicle has started making these noises, it isn’t just annoying-it’s a warning sign. The suspension system is the unsung hero of your car, absorbing impacts and keeping your tires glued to the road. When it starts talking back, something is loose, worn, or broken.
Fixing a noisy suspension doesn’t always mean a trip to the expensive dealership. Often, the culprit is a simple wear item like a bushing or a link that can be replaced with basic tools. However, misdiagnosing the issue can lead to buying the wrong parts or, worse, driving on a failed component that could snap while you’re on the highway. This guide walks you through exactly how to identify the source of the noise and fix it yourself, saving you hundreds in labor costs.
Decoding the Sound: What the Noise Tells You
Before you lift the car, listen closely. The character of the noise gives you half the diagnosis. Different components fail in distinct ways, and learning to distinguish them saves time at the parts counter.
- The Clunk: A heavy, metallic 'thud' usually indicates a loose joint or a broken spring mount. Think of it as two metal parts hitting each other with force. Common culprits here are Control Arms with torn rubber bushings or Ball Joints that have developed play.
- The Rattle: A high-pitched or mid-range shaking sound often points to smaller components. Sway Bar Links (stabilizer links) are the #1 cause of rattles. They are small, cheap, and wear out quickly because they move constantly to keep the car level during turns.
- The Thump or Bounce: If the car keeps bouncing after you push down on the hood or trunk, your Shock Absorbers are likely leaking oil or have lost their damping ability. You might hear a dull thump over bumps rather than a sharp clunk.
- The Grind or Squeal: While often associated with brakes, a grinding noise from the suspension area can sometimes be a seized Wheel Bearing or a strut mounting bearing that needs lubrication or replacement.
A quick rule of thumb: if the noise happens only when turning, focus on the sway bar links and inner tie rod ends. If it happens only when going over bumps straight ahead, look at the shocks, springs, and upper strut mounts.
Preparation and Safety Checks
You cannot diagnose what you cannot see. Before starting any work, ensure you have the right setup. Working under a car is dangerous if done incorrectly, so prioritize safety above all else.
- Gather Tools: You will need a set of jack stands (never rely on the hydraulic jack alone), a floor jack, metric socket sets (usually 14mm to 21mm for most European and Asian cars), a pry bar, and penetrating oil (like PB Blaster or WD-40 Specialist).
- Secure the Vehicle: Park on level ground. Chock the rear wheels if you are lifting the front. Jack up the car and place sturdy jack stands under the factory-rated support points-usually near the subframe or wheel arches, never under the axle itself.
- Remove the Wheels: Taking off the wheels gives you access to the brake calipers, which are often in the way of suspension components. Loosen the lug nuts before jacking up, then remove them once the car is stable.
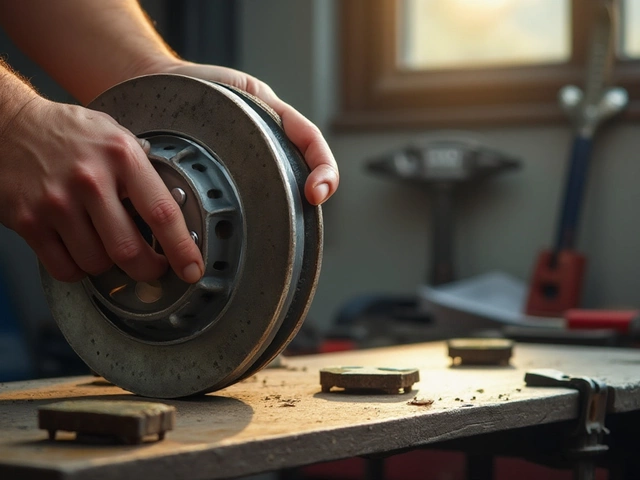
Once the wheel is off, visually inspect the area for obvious damage. Look for oil leaks around the shock absorbers. If you see dark fluid dripping from the shaft, the seal is blown, and the shock needs replacing. Also check for cracked rubber bushings. If the rubber looks shredded or has gaps where the metal core is exposed, that part is failing.
Step-by-Step Diagnosis by Component
Now that you have visual access, let’s test the specific components. Start with the easiest and cheapest parts first.
1. Checking the Sway Bar Links
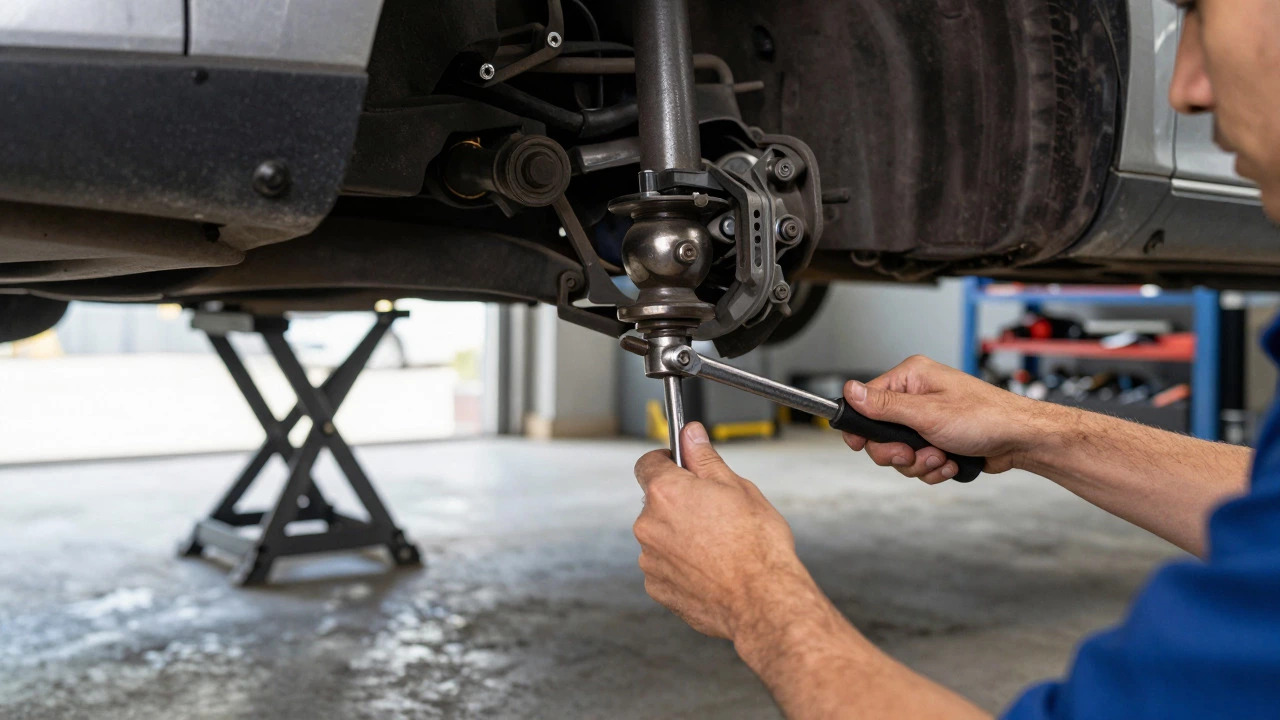
The sway bar links connect the anti-roll bar to the suspension arms. They have ball-and-socket joints at both ends. With the wheel off, grab the link with your hands and try to twist it. If there is significant play or a clicking sensation, replace them. These are inexpensive, and replacing them often solves 50% of all suspension noise complaints. Note that many modern cars use one-piece links that must be removed entirely, while older models may have separate end links.
2. Inspecting Ball Joints and Tie Rod Ends
These components allow the wheel to pivot for steering and suspension travel. To test them, you need a helper or a piece of bungee cord. Have someone gently rock the tire side-to-side (if reinstalled) or pry the suspension arm up and down. If you feel a distinct 'click' or see movement greater than 1-2 millimeters, the joint is worn. Worn ball joints are dangerous because they can detach completely, causing the wheel to drop. If in doubt, replace them.
3. Examining Control Arm Bushings
Control arms hold the outer suspension together. The bushings are the rubber isolators between the arm and the chassis. Look for cracks, tears, or flattening. If the bushing is split, the arm will shift position under load, causing clunks. Replacing just the bushings requires a special press tool, but for many DIYers, swapping the entire Control Arm Assembly is faster and ensures the bolts are new and rust-free. Used bolts on suspension parts are a major safety risk.
4. Testing Shock Absorbers and Strut Mounts
Visually inspect the shock body for dents or corrosion. Check the piston rod for nicks or pitting. For a functional test, push down firmly on the fender or hood and release. The car should bounce no more than once or twice. If it continues to oscillate, the damper is weak. Additionally, listen for creaking sounds when turning the wheel fully left and right. This usually indicates a dry or damaged Strut Top Mount. These mounts contain a bearing that allows the top of the strut to rotate with the steering rack. If it’s dry, it screams; if it’s broken, it grinds.
| Noise Type | Likely Cause | Difficulty Level | Estimated Cost (Parts) |
|---|---|---|---|
| Rattle/Crack | Sway Bar Links | Easy | £10 - £30 per pair |
| Clunk over bumps | Control Arm Bushings | Moderate | £40 - £80 per arm |
| Clicking when turning | Ball Joints / Tie Rods | Moderate | £25 - £60 each |
| Bouncy ride / Thumping | Shock Absorbers | Hard | £60 - £120 each |
| Creaking when steering | Strut Top Mounts | Hard | £30 - £70 each |
Replacing Components: Best Practices
Once you’ve identified the faulty part, the replacement process follows similar principles regardless of the component. Here are the critical steps to ensure a long-lasting fix.
Clean Everything First. Rust is the enemy of suspension work. Spray penetrating oil on all fasteners 24 hours before you plan to work on them. Use wire brushes to clean threads. If a bolt snaps, you’ll spend hours drilling it out. Prevention is cheaper.
Use New Hardware. Never reuse old suspension bolts, especially those with thread-locker or torqued to high specifications. Buy a kit of new grade 10.9 or 12.9 bolts. Apply a medium-strength thread locker (blue) to prevent vibration from loosening them later.
Torque in Sequence. Tighten bolts in a star pattern if possible, and always follow the manufacturer’s torque specs. Over-tightening can crack cast aluminum or break steel; under-tightening leads to the very noise you are trying to fix. Most suspension bolts require between 80 Nm and 150 Nm, but check your specific vehicle manual.
Replace in Pairs. If you replace one shock absorber, replace the other one too. Same for control arms and sway bar links. Mismatched components create uneven ride height and handling characteristics, leading to premature wear on the new parts.

When to See a Professional
While many suspension jobs are DIY-friendly, some situations warrant professional help. If your car uses MacPherson Struts integrated with the steering knuckle, removing the strut may require specialized presses. If you don’t have a hydraulic press or a proper strut compressor, you risk damaging the coil spring, which can be fatal if it unwinds suddenly. Additionally, if the noise persists after replacing common wear items, the issue might be deeper, such as a fractured subframe or a bent axle beam. In these cases, a frame shop or specialist mechanic is necessary.
Also, consider the age of the car. If the suspension is original and the car is over 10 years old, it might be worth considering a full upgrade to performance-oriented parts while you have everything apart. This is a one-time cost that significantly improves comfort and safety.
Frequently Asked Questions
Can I drive with a noisy suspension?
Yes, but cautiously. A noisy suspension usually indicates wear, not immediate failure. However, avoid high speeds and rough roads until repaired. If the noise becomes a loud bang or the car pulls to one side, stop driving immediately as a component may have detached.
Do I need an alignment after fixing suspension noise?
Yes, always. Any time you disconnect a control arm, ball joint, or tie rod, the wheel geometry changes. An alignment ensures your tires wear evenly and your car tracks straight. Skipping this step will undo much of the benefit of the repair.
What is the lifespan of suspension parts?
Rubber bushings typically last 5-7 years or 60,000 miles. Metal joints like ball joints and tie rods can last longer, often 8-10 years, depending on road conditions. Harsh winters with salt accelerate corrosion, shortening the life of these components.
Why does my car make a clunking noise only when stopping?
This is often caused by worn rear shock absorbers or a loose rear stabilizer bar link. As the car decelerates, weight shifts forward, compressing the rear suspension. If the dampers are weak or the links are loose, the components slam together, creating a clunk.
Are aftermarket suspension parts reliable?
Generally, yes, provided you buy from reputable brands. Major manufacturers like Lemförder, Monroe, or Bilstein produce high-quality parts that meet or exceed OEM standards. Avoid unbranded, ultra-cheap imports unless you are prepared for potential quality issues.