Car Radiator Replacement Time & Cost Estimator
Vehicle & Skill Details
Estimated Outcome
Select options and click Calculate to see estimates.
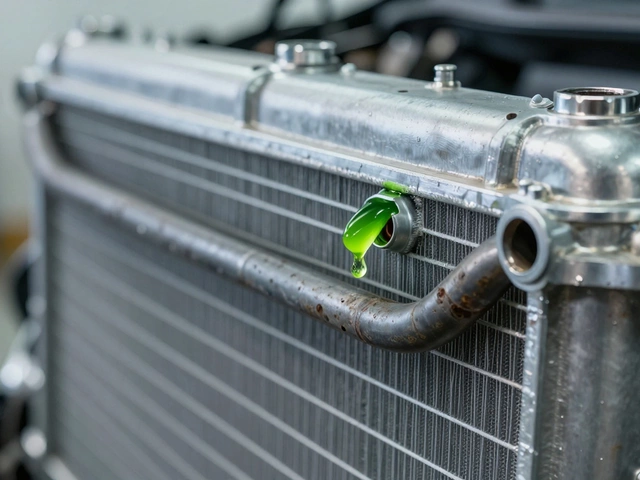
You're staring at a puddle of green or orange coolant on your driveway, and the temperature gauge is climbing. The diagnosis comes back: your car radiator is cracked or leaking. Now you're wondering, how long is this going to take? If you're planning a DIY job, you might be budgeting an afternoon. If you're booking a shop, they'll likely tell you it's a half-day job. But the reality is messier than that.
The honest answer depends on three things: your mechanical skill, the specific vehicle design, and whether you hit any hidden snags. For most people, replacing a heat exchanger used to cool engine coolant in a standard sedan takes between two and four hours for a professional, but can stretch to six or eight hours for a first-time DIYer. Here is exactly what eats up that time and how you can speed it up.
Key Takeaways
- Professional Labor: Typically 1.5 to 3 hours for accessible vehicles; up to 4+ hours for complex front-end assemblies.
- DIY Timeframe: Expect 4 to 8 hours if you are new to the task, including bleeding the system and cleanup.
- Critical Path: Draining coolant, removing obstructions (fans/bumpers), and refilling/bleeding air are the main time sinks.
- Hidden Costs: Broken plastic clips, seized bolts, or old hoses can double the estimated time.
Why Vehicle Design Dictates Your Timeline
Not all radiators are created equal, and neither are the cars that hold them. When mechanics quote labor hours, they aren't guessing; they're looking at the accessibility of the unit. In older, boxy sedans from the 1990s, the radiator often sits right behind the grille. You unbolt two brackets, disconnect two hoses, and pull it out. That's a quick job.
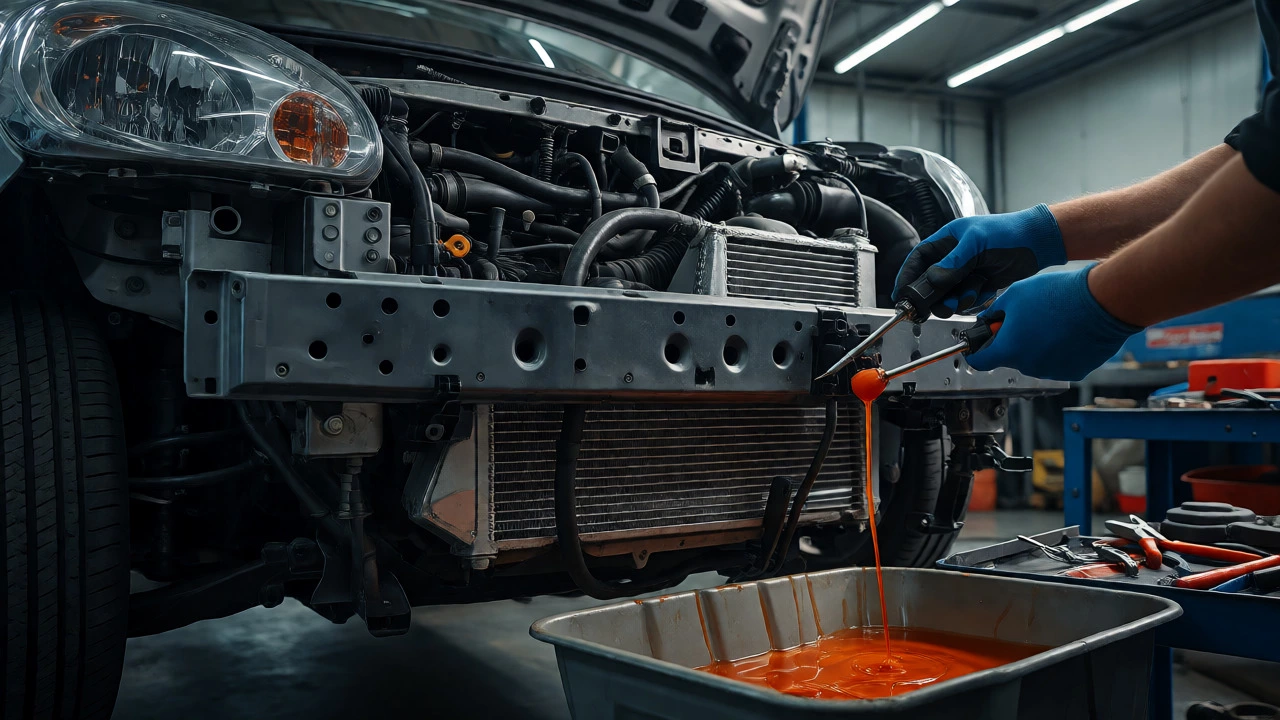
Modern vehicles are different. Manufacturers pack the engine bay tight for aerodynamics and pedestrian safety standards. On many modern cars, particularly those with transverse engines, you cannot see the radiator without removing the entire front bumper cover. This isn't just about pulling one screw. You have to deal with plastic clips that snap easily, fog light wiring harnesses, and sometimes even the condenser for the A/C system, which may need to be moved or disconnected carefully.
Consider a Honda Civic versus a Ford F-150. The truck has plenty of room; you can reach around the components. The Civic requires you to lift the car, remove splash shields, unclip the bumper, and potentially support the condenser so it doesn't hang by its delicate aluminum lines. That extra disassembly adds 30 to 60 minutes alone.
The Step-by-Step Time Breakdown
To understand where the hours go, let's break down the process into its core phases. This assumes you have the correct tools and parts ready before you start.
| Task Phase | Professional Mechanic | Experienced DIYer | Beginner DIYer |
|---|---|---|---|
| Preparation & Drainage | 15 mins | 30 mins | 45 mins |
| Disassembly (Bumper/Fan) | 30-60 mins | 60-90 mins | 90-120 mins |
| Radiator Removal | 15 mins | 20 mins | 30 mins |
| Installation & Reassembly | 30-45 mins | 45-60 mins | 60-90 mins |
| Filling & Bleeding Air | 20 mins | 30-45 mins | 45-60 mins |
| Total Estimated Time | 1.5 - 3 Hours | 3.5 - 5 Hours | 5 - 8 Hours |
Notice the gap in the "Disassembly" phase. This is where most beginners get stuck. Modern fasteners are often Torx or specialty plastic clips. If you strip a bolt head because you didn't use the right size socket, add another hour to extract it. Always check your service manual for specific fastener types before starting.
The Hidden Time Killers
If a job goes longer than planned, it's rarely because the radiator itself was hard to install. It's usually because of unexpected complications. Here are the most common ones:
- Seized Hose Clamps: Over time, heat cycles cause metal clamps to corrode onto rubber hoses. If you don't have a proper clamp pliers tool, prying them off can tear the hose, forcing you to replace the hose too. This turns a simple swap into a multi-part repair.
- Broken Plastic Clips: Front bumpers are held on by dozens of plastic retainers. These become brittle with age. Breaking one means you have to run to the auto parts store mid-job, costing you travel time and delay.
- Air Pockets: This is the biggest headache for DIYers. Simply pouring coolant into the reservoir isn't enough. Air trapped in the engine block or heater core prevents proper circulation. Some cars have automatic bleed valves; others require you to rev the engine while topping off fluid until the thermostat opens. If you fail to do this correctly, the car overheats, and you have to drain and repeat the process.
- Transmission Cooler Lines: On vehicles with automatic transmissions, small metal lines often connect directly to the radiator. If these leak or seize, you risk spilling transmission fluid. Cleaning up ATF is messy and time-consuming compared to coolant.
DIY vs. Professional: Is the Time Saving Worth It?
You might think saving $100-$200 in labor is worth spending your Saturday in the garage. But consider the opportunity cost. If you're inexperienced, that 6-hour job could turn into a weekend ordeal if something breaks. Furthermore, improper bleeding can lead to engine damage, which costs thousands, not hundreds.
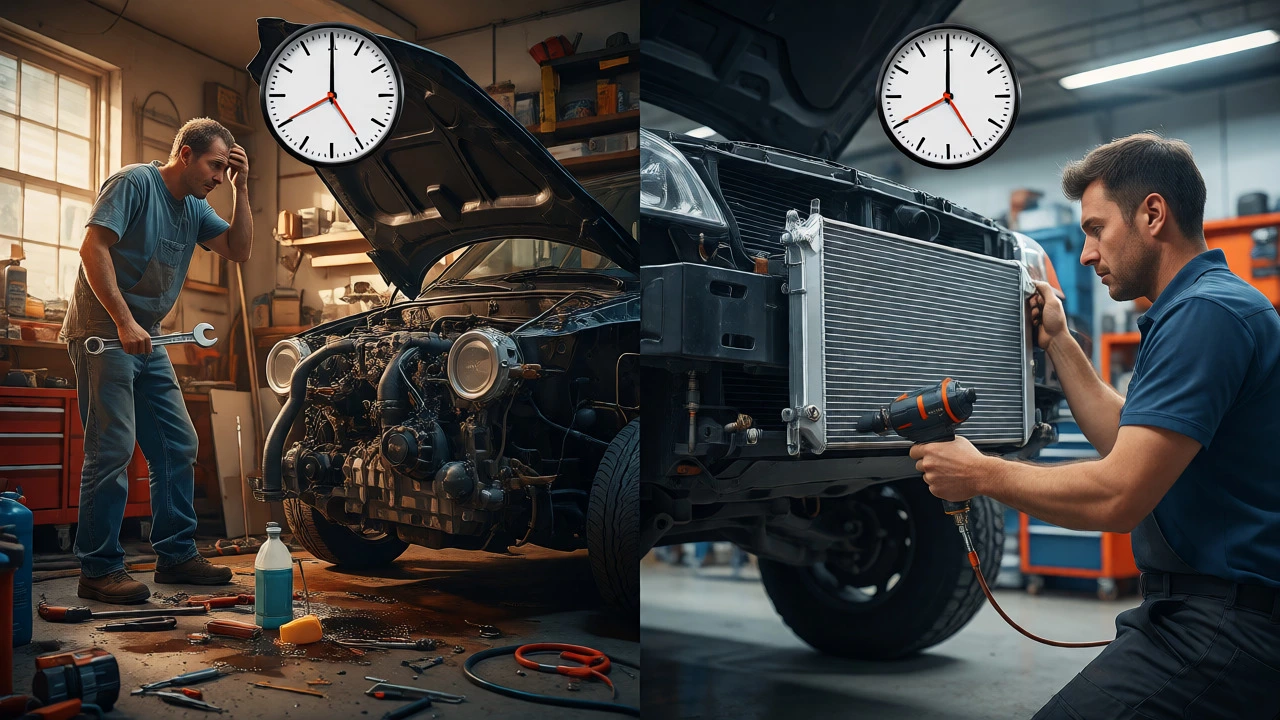
Professionals have experience with the specific quirks of local car models. They know which bolts tend to rust in the UK damp climate. They have pneumatic tools that remove bolts in seconds. They also handle the disposal of old coolant, which is toxic and illegal to dump down the drain. If you're handy with tools and have a helper, DIY is feasible. If you've never worked on a car before, hiring a pro is often the smarter financial move when you factor in potential mistakes.
Tools You Need to Stay on Schedule
Nothing slows you down like running to the shop for a missing tool. Before you start, ensure you have:
- Drain Pan: Large enough to catch 5-7 liters of coolant.
- Screwdrivers: Flathead and Phillips, plus Torx bits if required.
- Hose Clamp Pliers: Specifically designed for spring-type clamps. Standard pliers slip and damage hoses.
- Funnel: To pour coolant without spilling.
- New Coolant: Check your owner's manual for the correct type (e.g., HOAT, OAT). Mixing wrong types can gel up the system.
- Gloves and Goggles: Coolant stains clothes and irritates skin.
Having a friend help is invaluable. One person supports the heavy radiator while the other guides it through tight spaces. Two hands are better than one when aligning mounting tabs.
What If I Can't Find the Leak?
Sometimes you replace the radiator, but the problem persists. Or perhaps you replaced it as preventative maintenance. How do you know if the job was successful? After refilling and bleeding the system, run the car until the thermostat opens (you'll feel the upper radiator hose get hot). Check for leaks around the new connections. Monitor the temperature gauge closely during a short test drive. If it stays steady, you're good. If it climbs, stop immediately. You likely still have air in the system or a faulty water pump.
Frequently Asked Questions
Can I drive my car with a bad radiator?
You should avoid driving with a leaking radiator. Even a small leak can lead to rapid coolant loss, causing the engine to overheat within minutes. Severe overheating can warp the cylinder head or crack the engine block, turning a cheap repair into a catastrophic failure. If you must drive, keep the heater on full blast to draw heat away from the engine and watch the temperature gauge constantly.
Do I need to replace the hoses when changing the radiator?
It is highly recommended. Old hoses become hard and brittle due to heat cycles. Removing them from the old radiator can cause cracks that appear later, leading to new leaks. Since you already have the area open, replacing the upper and lower radiator hoses adds minimal time (10-15 minutes) but provides peace of mind and prevents future breakdowns.
Why does my car still overheat after replacing the radiator?
The most common reason is air trapped in the cooling system. Air pockets prevent coolant from circulating properly. You need to bleed the system according to your vehicle's specific procedure. Other causes include a stuck thermostat, a failing water pump, or a blown head gasket. If bleeding doesn't fix it, investigate these components next.
Is it cheaper to repair or replace a radiator?
For most modern cars, replacement is more cost-effective. Repair kits exist for small cracks, but they are temporary fixes. Aluminum radiators are difficult to weld reliably. New aftermarket radiators are relatively inexpensive ($50-$150), and the labor to remove and reinstall is the same whether you repair or replace. Unless the radiator is rare or classic, replacement is usually the better long-term choice.
How long does the coolant last after replacement?
Modern extended-life coolants typically last 5 years or 100,000 miles, depending on the manufacturer's specification. However, if you mix incompatible coolants or have frequent overheating events, the lifespan decreases significantly. Always check your owner's manual for the specific interval for your vehicle model.