DIY Radiator Replacement Cost Calculator
Estimate Your Savings
Intermediate DIYYour Inputs
Breakdown
Imagine pulling into a rest stop on the M4, only to see steam billowing from under your bonnet like a runaway locomotive. Your temperature gauge is pinned in the red, and your phone has zero signal. That panic is real, but here’s the good news: if your problem is a leaking or clogged radiator, the heat exchanger component responsible for cooling engine coolant, you might be able to fix it yourself before it turns into a catastrophic engine failure. The question isn’t just whether you *can* replace a radiator yourself-it’s whether you have the right tools, the physical space, and the patience to handle toxic fluids safely.
Replacing a car radiator is widely considered an intermediate-level DIY task. It’s not as simple as changing brake pads, but it’s nowhere near as complex as rebuilding a transmission. For most modern cars built after 2010, the process involves draining the old coolant, removing a few hoses and electrical connectors, unbolting the old unit, and sliding in the new one. However, the devil is always in the details-specifically, where the radiator sits in relation to other components like the condenser, the grille, or the engine mounts.
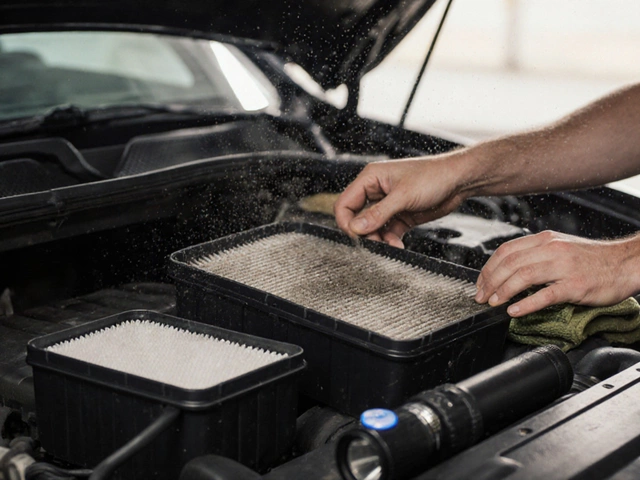
Gathering Your Tools and Parts
Before you even think about lifting the bonnet, you need to make sure you have the correct parts. Buying a generic radiator that doesn’t match your vehicle’s specific mounting points or tank configurations is the fastest way to turn a two-hour job into a day-long nightmare. Check your Vehicle Identification Number (VIN) against the part number to ensure compatibility.
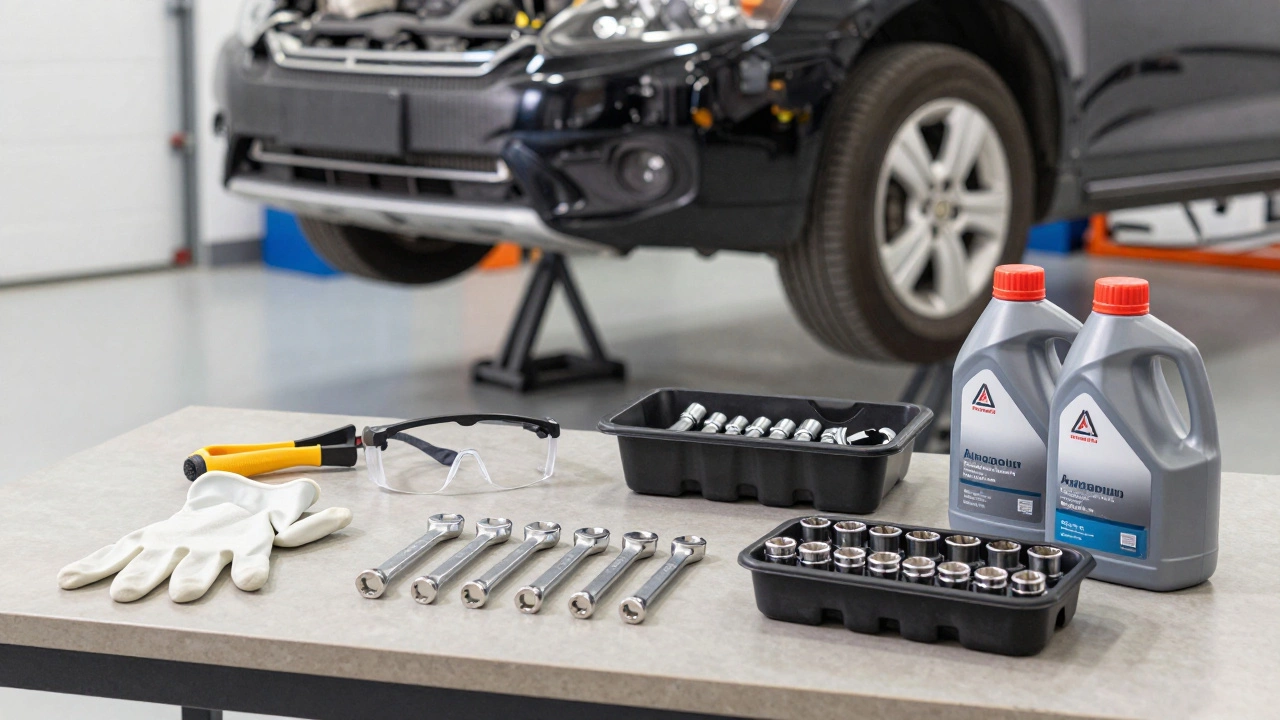
You’ll also need a basic toolkit. Here’s what should be in your garage:
- Safety Gear: Nitrile gloves and safety goggles are non-negotiable. Coolant is toxic and can cause skin irritation.
- Jack and Axle Stands: Never work under a car supported only by a jack. You’ll likely need to remove front wheels for better access.
- Socket Set and Wrenches: Metric sizes ranging from 8mm to 19mm will cover most bolts.
- Coolant Drain Pan: A large container with a spout to catch the old fluid.
- New Coolant: Match the type specified in your owner’s manual (e.g., OAT, HOAT, IAT). Mixing types can create sludge.
- Hose Clamps: Spring clamps or screw-type clamps depending on your car’s design.
If your car uses aluminum radiators-which most do since the late 1990s-you might also need a torque wrench to avoid cracking the new tanks during installation. Aluminum is lighter than copper but more prone to stripping threads if overtightened.
Step-by-Step Replacement Process
The actual swap follows a logical sequence. First, ensure the engine is completely cold. Opening a hot cooling system can release scalding steam and pressurized liquid, causing severe burns. Once cooled, place your drain pan under the radiator and open the petcock valve at the bottom, or disconnect the lower hose. Let the old coolant drain completely.
Next, disconnect the battery. This isn’t strictly necessary for the mechanical removal, but it prevents accidental short circuits when working near the fan motor or electronic control units. Remove any plastic covers or grilles blocking access to the radiator. On many modern vehicles, this means taking off the entire front bumper fascia-a tedious step involving dozens of clips and screws.
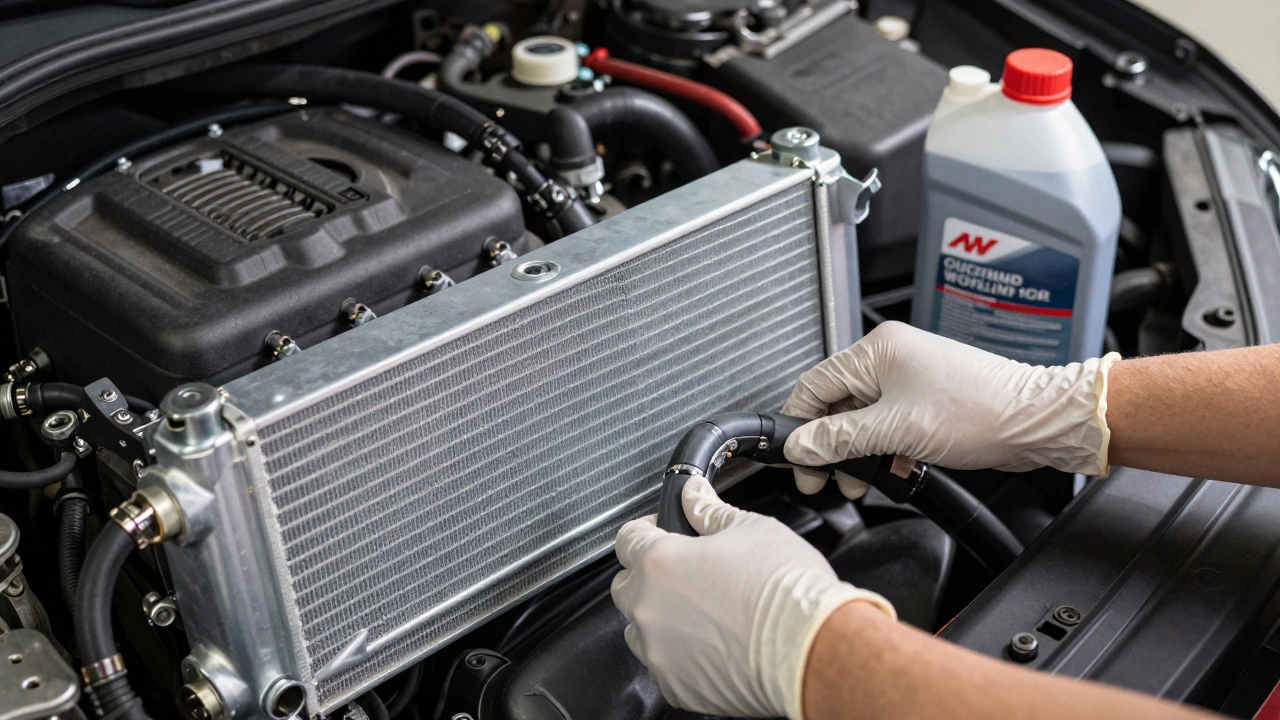
Disconnect the upper and lower hoses. If they’re stiff or corroded, use a hose pick or a flathead screwdriver carefully to break the seal without damaging the radiator necks. Unplug the electric fan connector and the temperature sensor if mounted directly on the radiator. Some cars also have a transmission cooler line attached; these require special pliers to compress the fittings.
Unbolt the radiator from its mounting brackets. Support the weight of the unit as you remove the final bolts. Lift it out straight up-tilting it can spill residual coolant onto your clothes or the ground. Inspect the mounting points for corrosion and clean them with wire brush.
Install the new radiator by reversing the steps. Ensure all gaskets are properly seated. Reconnect hoses securely, checking for kinks. Refill with the correct coolant mixture, usually a 50/50 blend of concentrate and distilled water. Start the engine with the heater on high to circulate the fluid and bleed air pockets. Top off the reservoir once the engine reaches operating temperature.
Common Pitfalls to Avoid
Even experienced mechanics make mistakes during radiator replacements. One common error is failing to replace the thermostat at the same time. Since you’ve already drained the system and removed components, swapping the thermostat costs little extra effort and ensures optimal cooling performance. An old, sticking thermostat can negate the benefits of a new radiator.
Another frequent issue is improper bleeding of the cooling system. Air trapped in the engine block can cause localized overheating, leading to warped cylinder heads. Modern engines often have bleed screws on the highest point of the cooling system. Consult your service manual for the exact procedure. Running the engine with the cap off until no bubbles appear is a reliable method for older cars.
Don’t ignore the condition of the water pump. If your radiator was replaced due to age-related failure, the water pump bearings may be nearing the end of their life too. While the radiator is out, inspect the pump for leaks or play in the shaft. Replacing both simultaneously saves labor costs down the line.
| Material | Weight | Durability | Cost | Best For |
|---|---|---|---|---|
| Aluminum | Light | Moderate | Low | Most modern passenger cars |
| Copper/Braze | Heavy | High | High | Classic cars, heavy-duty trucks |
| Plastic Tanks | Very Light | Low | Lowest | Budget replacements, temporary fixes |
When to Call a Professional
There are scenarios where DIY radiator replacement becomes risky. If your car requires removing the engine subframe or transaxle to access the radiator, the complexity increases significantly. Vehicles with turbochargers often have intricate intercooler piping that runs through the radiator core, complicating disassembly. Additionally, if you suspect internal engine damage-such as a blown head gasket pouring exhaust gases into the coolant-a new radiator won’t solve the root cause. In such cases, professional diagnosis is essential.
Also consider your workspace. Do you have adequate lighting and ventilation? Working outdoors in rain or extreme heat makes handling small fasteners and toxic fluids much harder. If you lack proper drainage facilities for disposing of used coolant, take it to a local recycling center. Many auto parts stores accept used antifreeze for free.
FAQ
How long does it take to replace a radiator?
For a straightforward replacement on a front-wheel-drive sedan, expect 2 to 4 hours. Complex vehicles with tight engine bays or integrated AC condensers may take 6 to 8 hours. Factor in additional time for draining, refilling, and bleeding the system.
Do I need to replace the thermostat with the radiator?
It’s highly recommended. Thermostats degrade over time and can stick open or closed. Since you’re already draining the coolant and removing components, replacing the thermostat adds minimal cost and ensures reliable cooling performance.
What happens if I mix different types of coolant?
Mixing incompatible coolants, such as green IAT with orange OAT, can cause chemical reactions that form gel-like sludge. This blocks passages in the radiator and engine block, leading to overheating and potential engine damage. Always flush the system thoroughly before introducing new coolant.
Can I drive my car with a leaking radiator?
No. Driving with a leaking radiator risks rapid coolant loss and engine overheating. Within minutes, you could warp cylinder heads or crack the engine block, resulting in repairs costing thousands of pounds. Address the leak immediately.
Is it cheaper to repair or replace a radiator?
Repairing minor leaks with epoxy or sealants is rarely cost-effective long-term. These fixes often fail within months. Given that new radiators are relatively affordable compared to labor costs, replacement is almost always the smarter financial choice.