Replace Car Battery – Simple Guide for Drivers
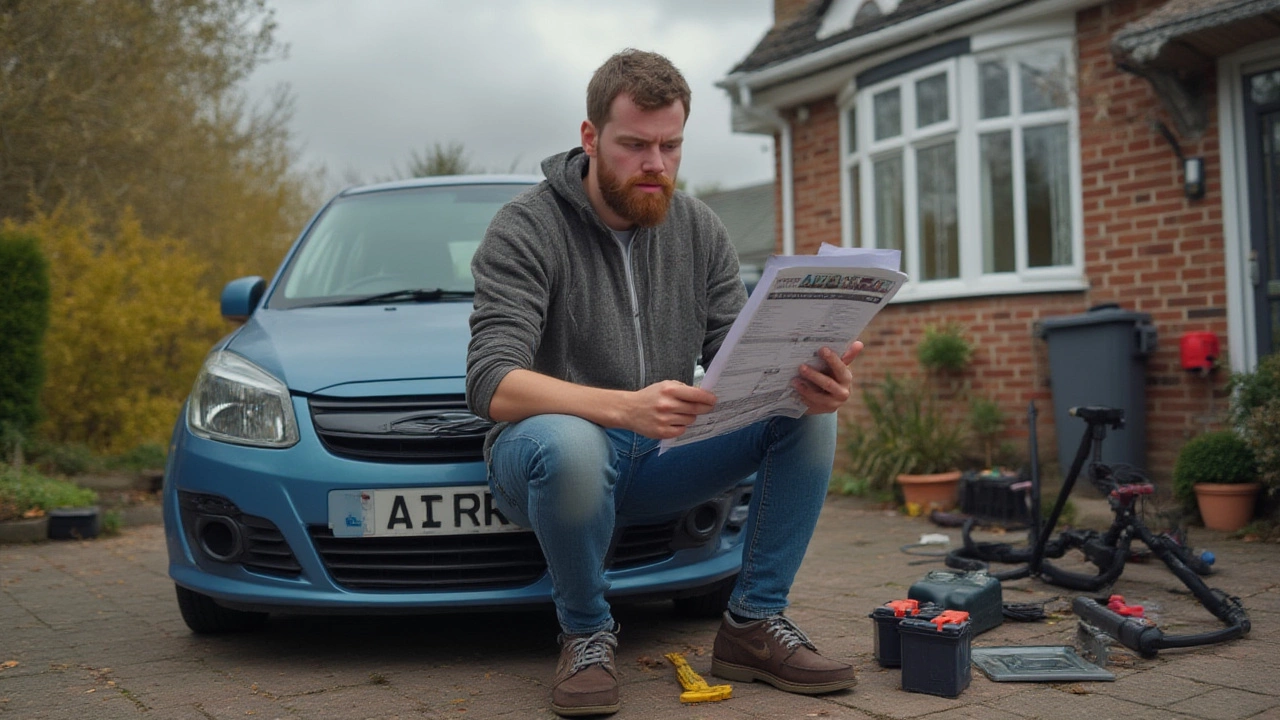
Ever turned the key and heard a slow click instead of a roar? That’s a classic sign your battery is on its last legs. A dead battery can ruin your morning, but swapping it out isn’t rocket science. In this guide you’ll learn the obvious warnings, how to pick the right replacement, and a step‑by‑step DIY method that saves you time and money.
How to Know Your Battery Needs Replacing
First, look for the tell‑tale clues. If the engine cranks slowly, the lights dim when you start, or the dashboard flickers, the battery’s losing juice. A quick voltage check with a multimeter helps: a healthy 12‑volt battery should read around 12.6 V when the car’s off and 13.7–14.7 V while running.
Age matters too. Most batteries last 3–5 years, sometimes a bit longer if you drive often. Check the date stamp on the top – a four‑digit code like “1519” means the battery was made in the 15th week of 2019. If it’s older than five years, consider replacement even if it still starts the car.
Extreme weather speeds up wear. Cold cranks the chemistry, heat evaporates electrolyte. If you live in a chilly climate and notice sluggish starts after a night of frost, that’s another red flag. Also, corrosion on the terminals (white crust) can mimic a weak battery, so clean the terminals before jumping to a full swap.
Step‑by‑Step DIY Battery Replacement
Ready to do it yourself? Grab the basics: a new battery that matches your car’s group size, safety gloves, a wrench set, and a battery terminal cleaner. Most passenger cars use Group 24, 24F, or 35 – the label on your old battery tells you the exact fit.
1. Safety first. Turn off the ignition, remove the key, and engage the parking brake. Disconnect the negative (black) terminal first, then the positive (red). This order prevents accidental short circuits.
2. Take out the old battery. Some cars have a hold‑down bolt or a strap; loosen it with a socket wrench, then lift the battery out. It’s heavy (around 30‑40 lb), so use a sturdy hand‑cart or ask for help.
3. Clean the tray and terminals. Spray a little baking‑soda solution on any corrosion, scrub with a brush, and wipe dry. A clean surface ensures a solid connection for the new battery.
4. Place the new battery. Slide it into the tray, making sure the positive and negative posts line up with the cables. Re‑secure the hold‑down bolt – it should be tight but not over‑torqued.
5. Reconnect the cables. Attach the positive terminal first, tighten the nut until snug, then do the negative side. Give each a gentle wiggle to confirm a firm grip.
6. Test it. Start the car. If the engine fires up smoothly and the dashboard lights stay bright, you’ve nailed it. Check the voltage again; it should be in the 12.6 V range with the engine off.
If the car still struggles, double‑check the connections or consider a load test at a shop – the problem might be the alternator, not the battery.
When you’re done, recycle the old battery. Most auto parts stores accept them for free and will even give you a small discount on your new purchase. It’s good for the planet and keeps hazardous acid out of landfills.
Replacing a car battery yourself can be quick, cheap, and satisfying. But if you’re uncomfortable handling heavy metal or the car’s battery sits in a cramped engine bay, a professional install costs about £50‑£80 and includes a warranty. Either way, don’t wait until you’re stranded – keep an eye on the signs and swap early for a reliable ride.
 18 July 2025
Can I Replace My Car Battery Myself? Step-by-Step Guide and Tips
Find out if you can replace your car battery yourself, get step-by-step guidance, discover pro tips, and learn what tools and safety steps you need.
Latest Posts
-

Do Spark Plugs Add Horsepower? Myths, Facts, and How to Choose the Right One
-

How Long Does It Take to Fix a Fuel Pump? Real-World Timelines and Tips
-

Should I Change Spark Plugs If Nothing Seems Wrong?
-

Bad Spark Plug Symptoms and Effects: What Happens if Your Spark Plugs Are Failing?
-

How Long Does It Take to Replace a Radiator? Expert Breakdown for Car Owners
Tags
- car maintenance
- engine oil
- spark plugs
- brake pads
- engine performance
- vehicle maintenance
- windshield wipers
- fuel pump
- clutch replacement
- spark plug replacement
- clutch kit
- suspension parts
- car performance
- oil change
- air filters
- car suspension
- car radiator
- exhaust systems
- fuel pump failure
- car radiators

0