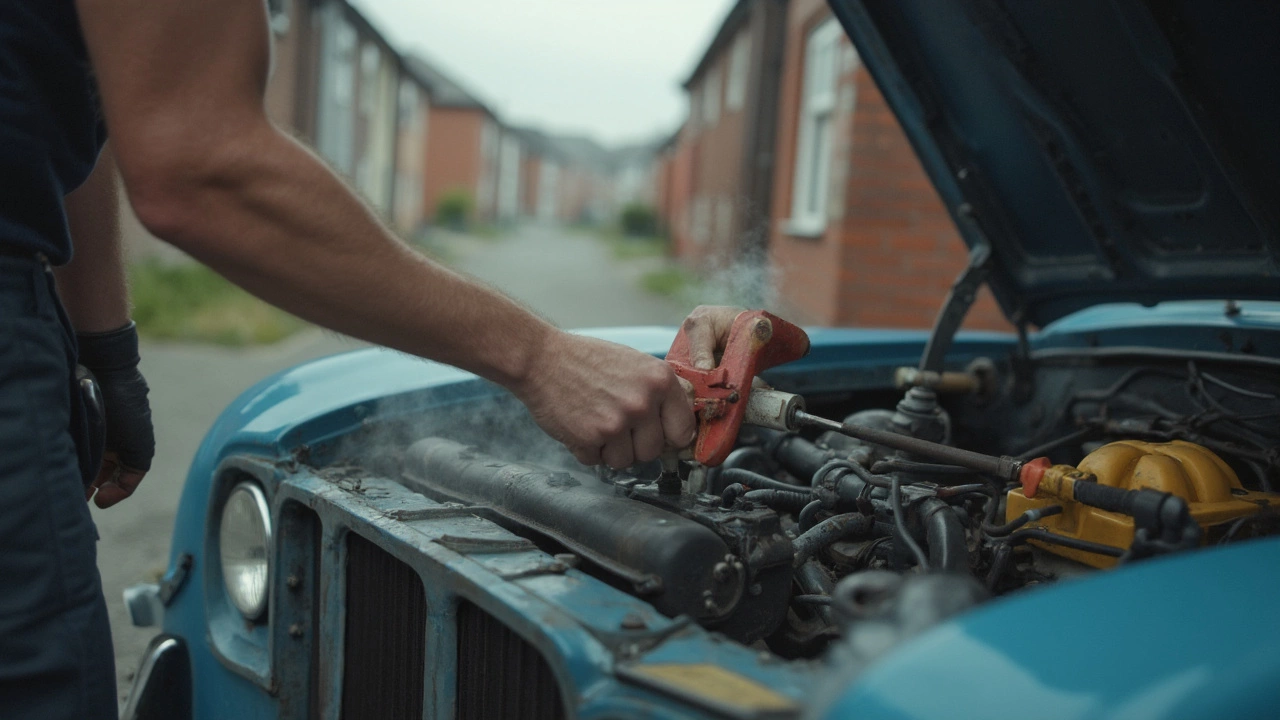
Got a overheating engine and wonder if you can sort the radiator yourself? You don’t need a garage full of tools – just a few basics and a bit of patience. Below you’ll find practical steps to check for leaks, clean the system, and swap out a bad radiator without breaking the bank.
Start by letting the engine cool for at least 30 minutes. Open the hood and look for coolant stains, rust, or a low coolant level in the overflow tank. A sweet, milky smell often means the head gasket is leaking, which is a different story. If you see a wet patch on the radiator fins or a puddle under the car, that’s a clear sign of a leak.
Next, press the radiator gently with your fingers (when cold). Any soft spots or cracks are red flags. Also, feel the radiator hoses – they should be firm, not ballooned. If they feel mushy, the hose or the radiator might be failing.
Flushing clears out rust, old coolant, and debris that cause hotspots. You’ll need a garden hose, a bucket, and a flush kit (optional but handy). Remove the radiator cap, then disconnect the lower hose. Let water run through until it comes out clear. Some folks add a radiator flush solution for tougher build‑up, but plain water works fine for most DIY jobs.
After the flush, close the lower hose, refill the system with a 50/50 mix of fresh coolant and distilled water, and run the engine for about 10 minutes with the heater on high. Watch the temperature gauge – it should stay steady. If it still spikes, the radiator may be blocked internally or the thermostat could be stuck.
When the engine cools again, check the coolant level and look for air bubbles in the coolant reservoir. Bleed the system by loosening the bleed valve (if your car has one) or by squeezing the upper radiator hose until no more bubbles pop out.
Now you’re ready to replace the radiator if it’s beyond repair. The job takes roughly an hour for most front‑engine cars. Gather these tools: screwdrivers, a socket set, pliers, a drain pan, and a new radiator that matches your make and model.
First, drain the old coolant into the pan. Disconnect the upper and lower radiator hoses, the transmission cooler line (if applicable), and any electrical connectors for the fan. Keep track of where each bolt goes – a quick photo helps.
Remove the mounting brackets and lift the radiator out. Compare the old unit with the new one to ensure the inlet and outlet positions match. Install the new radiator, re‑attach the hoses, refill with coolant, and start the engine. Let it run while you check for leaks at each connection.
Finally, give the cooling system another flush and bleed if needed. Keep an eye on the temperature gauge for the first 50 miles – if it stays in the normal range, you’ve nailed the DIY job.
Doing a radiator repair yourself saves time and money, and you’ll understand your car’s cooling system better. If anything feels beyond your comfort level, a quick call to Northwich Tyres Centre can get you professional help without the guesswork.
 20 April 2025
Ever wondered if you can fix a leaky or clogged radiator without shelling out cash for a new one? This article walks you through practical ways to save your car’s radiator using real-world fixes. We’ll talk about common issues, actual repair options, and when it’s worth trying a repair at home. You’ll get clear tips, warning signs to watch out for, and advice on when to call in the pros. No fluff—just honest info that could save you time and money.
©2026 northwichtyrescentre.co.uk. All rights reserved


0