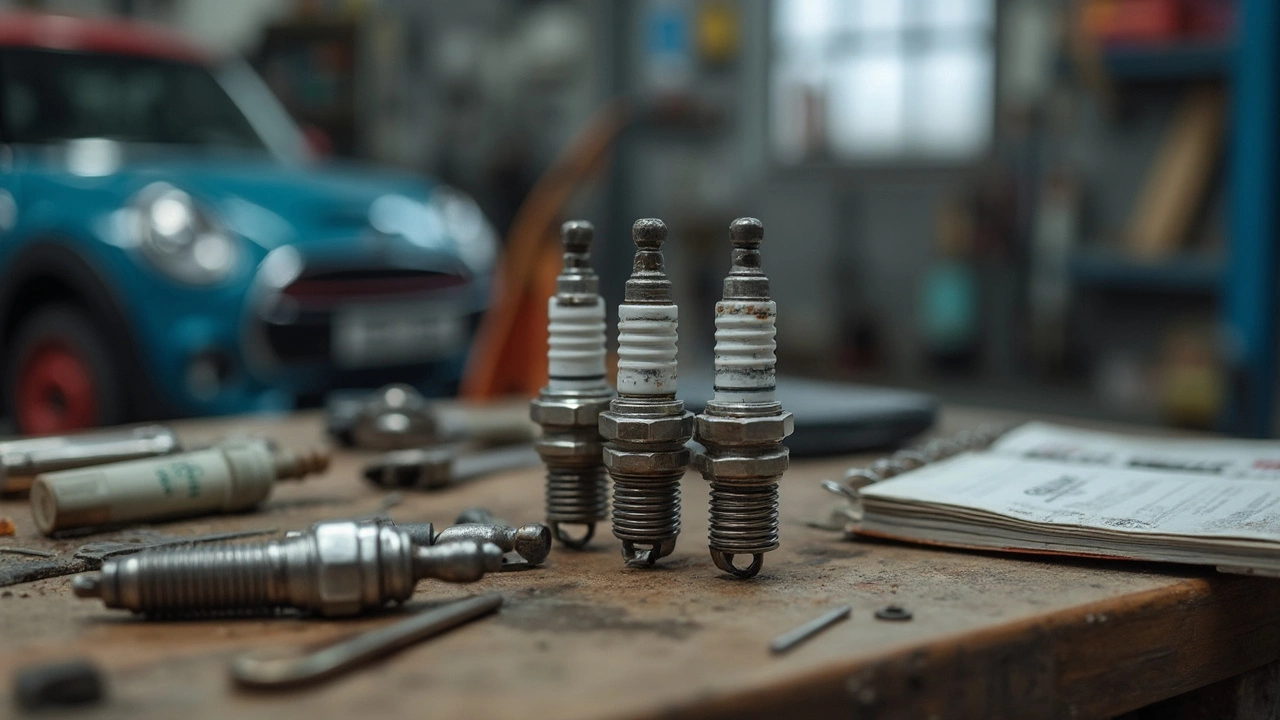
Cleaning Spark Plugs – Simple Steps to Boost Engine Performance
If your engine feels rough, the check‑engine light flickers, or fuel mileage drops, dirty spark plugs are often the culprit. You don’t need a garage to fix the problem – a few basic tools and a bit of know‑how can get your plugs clean and your ride humming again.
Why cleaning spark plugs matters
Spark plugs create the tiny sparks that ignite the fuel‑air mixture inside each cylinder. Over time, carbon, oil residue, and fuel deposits coat the electrode and insulator. This coating raises the voltage needed for a spark, causing misfires, rough idling, and slower acceleration. In extreme cases, a fouled plug can stop firing altogether, leaving you stranded.
Cleaning restores the original gap and conductivity, letting the plug fire at the right time. The result is smoother running, better fuel efficiency, and less wear on other engine parts. Plus, a clean plug can extend the life of the plug itself, saving you money on premature replacements.
Step‑by‑step cleaning guide
What you’ll need: a ratchet with the correct socket (usually 5/8" or 13 mm), a soft brass brush, compressed air (or a can of canned air), a spark‑plug cleaner spray, a gap‑gauge, and a clean work surface. You’ll also want a small container for the old plugs and a rag for wiping.
1. Prepare the engine. Let the engine cool for at least 15 minutes after a drive. Hot plugs can crack when you remove them. Disconnect the battery if you’re extra cautious.
2. Remove the plugs. Loosen each plug with the socket and gently pull it out. Keep track of the order – you’ll reinstall them the same way.
3. Inspect and clean. Look for heavy carbon buildup, oil fouling, or cracked insulators. Spray the cleaner onto the electrode and use the brass brush to scrub away deposits. Avoid steel brushes – they can damage the fine tip.
4. Blow out residue. Use compressed air to clear any remaining particles from the threads and the central hole. A quick shake of the plug over a rag can help drop loose debris.
5. Check the gap. Use a gap‑gauge to measure the distance between the center and ground electrodes. Compare it to the specification in your owner’s manual (usually 0.6‑1.0 mm). Adjust gently by bending the ground electrode if needed.
6. Reinstall. Thread each plug back in by hand to avoid cross‑threading, then tighten with the socket until you feel a slight resistance. Give it a final snug turn – about a ¼ turn past finger‑tight is typical for most cars.
7. Test the engine. Reconnect the battery, start the car, and listen. The idle should be steady, and any misfires should disappear. If the engine still runs rough, another plug may be bad, or the issue could be elsewhere.
Cleaning works best when you do it every 20‑30 k m or when you notice performance dips. If you find cracked ceramic, worn electrodes, or the plug looks burnt, replace it instead of cleaning. New plugs are relatively cheap and ensure optimal ignition.
Remember, a quick spark‑plug cleaning can save you from a costly repair down the road. Keep a small cleaning kit in your garage, and you’ll have one less reason to worry about engine trouble.
 1 May 2025
Spark Plug Maintenance: Should You Clean or Replace Them?
Not sure whether to clean your spark plugs or swap them out for new ones? This article unpacks the real pros and cons of both options. You'll get straightforward advice on how to spot worn-out plugs, plus tips for getting the most out of your engine. We’ll look at different types of plugs, real-world cost factors, and common mistakes people make. You’ll be able to decide what’s best for your car and your wallet, whether you drive every day or just on weekends.
Latest Posts
-

Is Replacing Car Radiators Really Worth It?
-

What Color is Bad Engine Oil? Understanding the Signs of Trouble
-

How Long Do Silicone Wiper Blades Last? Real Lifespan Facts & Replacement Tips
-

Suspension Noise Types: Three Sounds That Signal Trouble
-

Are Aftermarket Exhausts Worth It? Real-World Pros, Cons & Expert Insights
Tags
- car maintenance
- engine oil
- spark plugs
- brake pads
- engine performance
- vehicle maintenance
- spark plug replacement
- windshield wipers
- fuel pump
- suspension parts
- clutch replacement
- oil change
- clutch kit
- car performance
- air filters
- car suspension
- car radiator
- exhaust systems
- engine misfire
- fuel pump failure

0