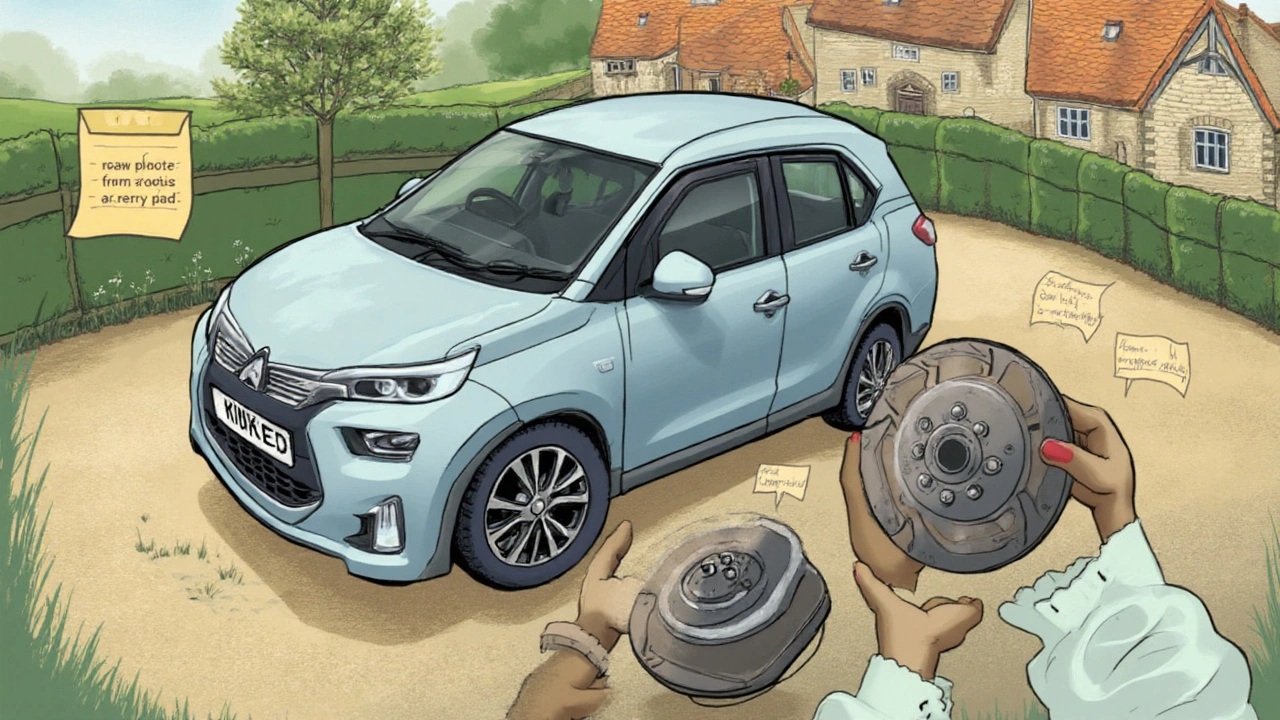
Any car owner who’s ever tried to schedule a brake job has run into this dilemma: do I need to swap out all of my brake pads, or can I just do the rears? You hear all sorts of opinions—some people say always change all four pads at once. Others insist it’s fine to do just the ones that are worn. Your mechanic might push for a full set. Your buddy at work did just the back ones and swears his car stops just fine. So, who’s right? Are you risking your safety (or wasting your cash) if you only tackle the rear pads?
How Your Brake System Works: Rear vs. Front Pads
Let’s clear up how your car’s brakes actually handle the job. Cars these days mostly use disc brakes on all wheels, but the front brakes usually take on about 60-80% of stopping force. Why? When you brake, your car’s weight shifts forward, upping the pressure and grip on your front tires. That extra force is why front brakes wear out faster and have beefier pads and rotors. The rear brakes play a supporting role—they keep the car balanced, stable, and ensure you don’t spin out during hard stops. But they don’t bite as hard, so rear pads usually last longer.
Some vehicles have drum brakes in the rear, but let’s stick to the disc brake setup since that’s where most people wonder about pad swapping. If you regularly tow heavy trailers, haul loads, or drive a pickup or SUV, you might find your rear pads wear faster due to the weight, especially if your rear brakes do more work. However, for the average sedan or crossover out on the highway and in city traffic, your rear brakes will almost always outlast the fronts.
Modern cars with electronic brake force distribution or stability control systems balance all four corners for safest stopping. That tech can make it even less critical to replace all four sets at once—these systems adapt to minor differences in wear or friction between the axles.
Should You Change Just the Rear Brake Pads?
Swap only the rear pads when they’re clearly worn and the fronts have plenty of life left. This isn’t just a money-saver—it’s also standard practice at most reputable garages. There’s no hard rule that says you must replace all pads at the same time. It only becomes a safety concern if the difference in pad thickness front-to-rear gets extreme. When the rear pads are down to 2-3mm and the fronts are still rolling at 7mm or more, just do the backs. But if both sets are thin, swap them all.
Here’s a tip: Always compare the new pads’ friction material thickness to the old ones. You don’t want to put brand-new thick pads on the rear and leave the front with near-worn or uneven pads, since this could cause a little mismatch in how the brakes grab. In practice, the car will self-balance most differences, but if you’re doing a track day or mountain driving, uneven pad thickness can cause slightly unpredictable brake feel.
Auto parts stores and brake pad manufacturers like Brembo, Akebono, or Bosch all state in their documentation that it’s fine to replace pads in pairs, as long as the opposite axle still has enough cushion left. They even post tables with minimum recommended thicknesses to help you judge.
| Pad Position | Minimum Safe Thickness | Common Replacement Range |
|---|---|---|
| Front | 3mm | 3-5mm |
| Rear | 2mm | 2-4mm |
But here’s where it gets tricky—there’s more to the job than the pads. Rear rotors might be close to their minimum thickness, or could have grooves that chew up new pads. Rear brake calipers get sticky or seize, especially if you live where winters are salty and wet. If your pads have worn unevenly, check those slide pins and calipers before you just slap on new pads. That’s how pros do it, and it saves you the headache of annoying brake noises or even early pad failure.

Potential Risks and Things to Watch When Swapping Only the Rears
Changing only the rear brake pads won’t suddenly wreck your brakes, but ignoring complete brake health can cause problems. Here’s where people trip up: they swap pads but ignore worn rotors, sticky caliper pins, or old brake fluid. Then, weeks later, the brakes squeak, shudder, or feel spongy.
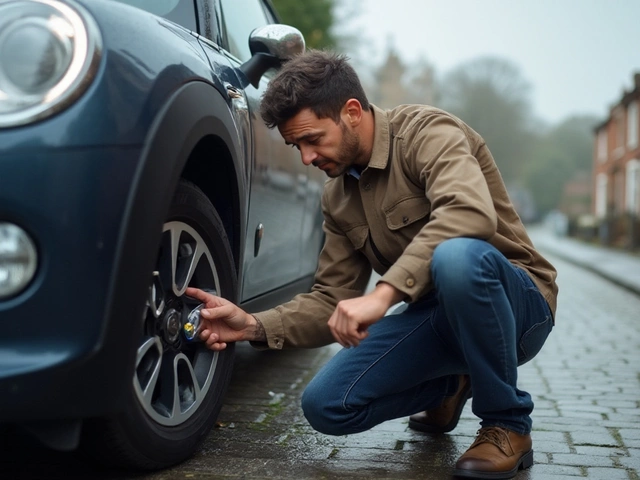
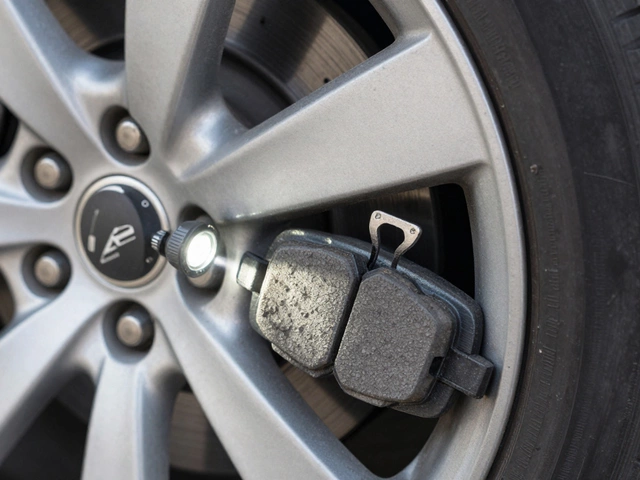
Most cars have a brake wear sensor for each axle that sends a dashboard warning when pads get thin. If you change only the rears, just make sure you reset or replace the sensor if your car uses one. Failing to do so keeps the dashboard light on, which means you won’t get an alert when the next set runs low. On cars without electronic sensors, trust your eyes—use a flashlight and check both axles a couple of times each year, or at every oil change. Watch for grooves in the rotors, uneven pad wear, or heavy brake dust (which can mean pads are wearing rapidly or sticking).
Mixing old and new pads between front and rear won’t destroy your stopping power under normal street use. But there are exceptions. If you pull heavy loads, drive on steep mountain roads, or hit the track, the difference in braking grip can make the car feel a little weird—sometimes the back end will feel too eager to lock up, or you won’t get the stable, even stop you’re used to. For daily driving, though, almost no one notices a thing.
Make sure you always bed-in fresh pads after replacement. Even if you’re only swapping the rears, new pads need to be broken in gently. Find a safe, flat road, and make several smooth stops from about 30mph to 10mph without slamming the brakes. This helps transfer a thin layer of pad material onto the rotor surface, prepping them for smooth operation.
How to Get the Most Life and Safety Out of Your Brake Pads
If you want to avoid wrenching or shelling out for brake repairs too often, a couple of habits save a ton of money. First, start braking earlier and lighter whenever possible, rather than waiting and jamming on the brakes. Aggressive stops eat up pad material and heat up the rotors, wearing both down faster. Next, don’t ride the brakes on long downgrades—shift to a lower gear and let engine braking do the work. This saves your rear brakes especially, because many automatic and all-wheel drive systems use the rear brakes for so-called stability functions.
When it is time for new pads, here’s a quick checklist to do the job right (or make sure your mechanic does):
- Inspect both the front and rear pads for wear—you want to know all your numbers before you start.
- Measure the thickness of your rotors. If they’re under the spec provided by your car’s manual or stamped right on the rotor hat, replace them too. Don’t put new pads on dead rotors—it wrecks both.
- Check the slide pins for free motion, and clean and lube them if they’re sticky.
- Bleed the brakes if you haven’t done it in two years. Old fluid invites heat fade and corrosion.
- After the job, follow the bedding-in process to seat new pads and enjoy smooth, squeak-free braking.
Sometimes, you can get better deals on quality pads and rotors if you buy a set for both axles at once, but that’s just convenience—it’s not a rule. Buy from known brands like Akebono, Brembo, Power Stop, EBC, or Bosch, and avoid the cheapest stuff off online marketplaces. The cheap pads can be noisy and drop tons of dust, and they rarely last as long.
Lots of DIYers swap rear pads at home, but some modern vehicles (especially European models and those with electronic parking brakes) need a scanner tool to rewind the calipers. If you’re not comfortable with that, a local shop can handle it in under two hours, and you only pay for the pads and labor you really need.
In short, as long as the other axle still has safe pad thickness and you check your rotors and calipers, you’re fine changing just the rear brake pads. Want to save money, or don’t like fixing what isn’t broken? Totally reasonable — just keep those brakes inspected every oil change, and you’ll always stop when and where you need to.


