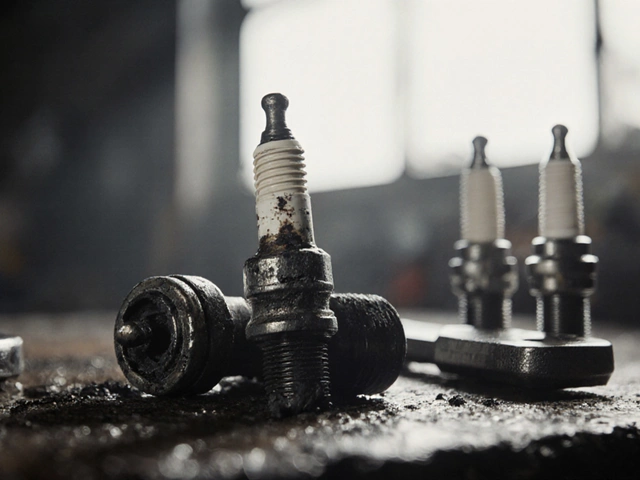
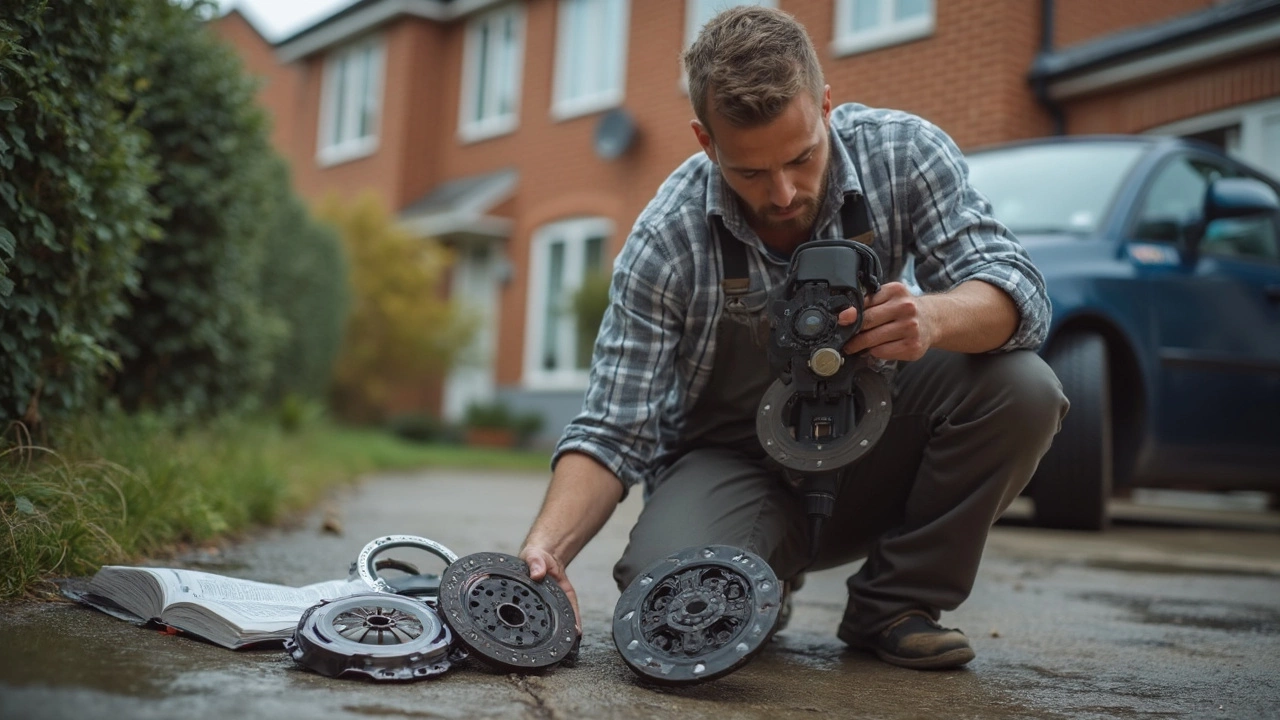
Ever popped open a box labeled “clutch kit” and wondered what all the random metal and rubber bits are for? You’re not alone. Picking the right clutch kit (and knowing what’s inside) can save you cash, time, and a whole lot of stress—the difference between your car purring down the road or calling for a tow.
The first thing to know: a clutch kit is more than just a clutch disc. Sure, that’s the star player, but other parts work behind the scenes to make every shift smooth and every stop safe. Skip any piece, and you might find yourself back under the hood before you know it.
Think of it like a team—no clutch disc, no grip; no pressure plate, no connection; no bearings, no peace and quiet (unless you like grinding sounds). And manufacturers love to throw in a few extras, like alignment tools or fresh bolts, just to make life easier during installation.
- What a Clutch Kit Actually Contains
- Clutch Disc: The Workhorse
- Pressure Plate: Keeping It All Together
- Release Bearing and Pilot Bearing: The Unsung Heroes
- Installation Hardware and Extras
- Tips for Choosing and Replacing a Clutch Kit
What a Clutch Kit Actually Contains
Pop the lid on any decent clutch kit, and you’ll spot a handful of core parts. It’s not just one fancy disc—it’s a bundle designed to swap out everything prone to wear and tear in your clutch system. The usual suspects inside look like this:
- Clutch kit disc: This is the friction material that grabs your flywheel to connect engine power to the gearbox. It’s the bit that takes the most beating.
- Pressure plate: Sits right next to the disc, pressing it against the flywheel using heavy-duty springs.
- Release bearing (sometimes called the throwout bearing): Lets the pressure plate disengage when you hit the clutch pedal, so gears actually change smoothly instead of grinding.
- Pilot bearing or bushing: Supports the tip of the transmission input shaft. Not every kit has this, but when it’s there, your next gear shift feels way smoother.
- Alignment tool: Helps you center and install the clutch disc perfectly. Without it, getting the gearbox back on is a pain.
- Hardware: Things like bolts, grease, or gloves—depends on the brand and car model.
Basically, these parts work together so you’re not left guessing why your clutch feels odd a week after replacement. On average, a typical clutch kit serves cars for 50,000 to 100,000 miles, but some sports or towing vehicles chew through theirs faster thanks to extra stress.
| Component | Main Job | Included in Most Kits? |
|---|---|---|
| Clutch Disc | Transmits engine power | Yes |
| Pressure Plate | Holds disc to flywheel | Yes |
| Release Bearing | Lets clutch disengage | Yes |
| Pilot Bearing/Bushing | Guides input shaft | Sometimes |
| Alignment Tool | Centers disc on install | Often |
| Hardware | Safe assembly | Varies |
The golden rule: Always check the kit contents before you buy, because what’s included can vary a lot by car make, model, and the kit brand. If you drive something older or less common, don’t be shocked if you need to order an alignment tool or bolt set separately. And double check for the pilot bearing—older kits would skip these, but modern ones usually throw it in and you’ll notice the difference.
Clutch Disc: The Workhorse
The clutch disc is the real MVP inside any clutch kit. It’s the round, flat component that connects your engine to the transmission, making power transfer possible. Without it, your gears just sit there looking pretty, and your wheels won’t move at all.
The disc itself usually sports a friction surface—think high-quality material like organic compound or ceramic. That surface grabs tightly to the flywheel when you engage the clutch, which is exactly what you want if you like smooth takeoffs and clean gear shifts. Cheap or worn discs tend to slip, which means wasted power, sticky shifts, and a risk of major breakdowns. Fun fact: racing clutches sometimes use Kevlar or carbon ceramic for extreme heat resistance when things get wild on the track.
One thing often overlooked is the hub right at the center of the clutch disc. It comes loaded with little springs called “dampers” that help absorb shock every time you engage the clutch. That means less shuddering through your drivetrain, and a longer life for everything from your gearbox to your driveshaft. Ignore those springs, and your ride gets noisy—and your wallet empties faster.
Before you install a new disc, always check the thickness. If it’s wearing thin (under 0.3 inches, for most cars), do yourself a favor and swap it out. Also, look for signs of glazing, hot spots, or cracks. If it’s shiny or has rough patches, performance is headed downhill. And if you hear chirping or squealing when taking off? Yeah, time to check that clutch disc.
Pressure Plate: Keeping It All Together
The pressure plate is the MVP when it comes to actually pushing the clutch disc against the flywheel, letting your car move smoothly. Built from heavy metal, this bad boy lives inside every clutch kit and manages the connection between your engine and wheels. When you press the clutch pedal, the pressure plate pulls away, allowing you to shift gears. Let it go, and it clamps back down. If it’s weak or worn out, get ready for slipping, jerky starts, or being stuck in your driveway.
There are a few big reasons the pressure plate matters so much:
- Consistent Grip: It keeps the clutch disc firmly pressed for smooth power delivery.
- Heat Resistance: It manages crazy temperatures—regular driving can heat it up to 300°F (about 150°C), but hard launches or towing push it even further.
- Quick Engagement: Good pressure plates make gear changes feel tight and responsive.
- Longevity: Newer designs resist warping, which means fewer replacements and repairs.
The table below shows just how long a pressure plate typically lasts, and what can cut that time short:
| Driving Style | Average Lifespan | Main Risks |
|---|---|---|
| Highway Cruising | 70,000-100,000 miles | Normal wear |
| City Stop-and-Go | 40,000-60,000 miles | Heat buildup, frequent use |
| Aggressive Driving/Racing | 10,000-30,000 miles | Overheating, rapid wear |
If you hear rattling, feel vibrations through the clutch pedal, or your gears go crunchy, your pressure plate could be calling it quits. When swapping clutch kits, never reuse an old plate. It’s a false economy, and you’ll probably be back fixing the same problem again soon.
One last thing: kits often come with a pressure plate tailored for either regular, performance, or heavy-duty use. Make sure you’re picking the right type for how (and where) you actually drive. Trust me, your car—and your wallet—will thank you.
Release Bearing and Pilot Bearing: The Unsung Heroes
Most folks focus on the clutch disc and pressure plate, but these two small parts—release bearing and pilot bearing—often get ignored. Big mistake! If either of these fails, even a brand-new clutch kit won’t help you shift gears smoothly.
The release bearing (also called a throw-out bearing) pushes against the pressure plate every time you stomp on the clutch pedal. This action lets the clutch disc break contact from the engine, so you can easily switch gears. If the release bearing is worn out—or worse, totally shot—you’ll hear squealing or grinding, and shifting starts to feel rough or almost impossible. Here’s a tip: always swap in the new release bearing that comes with your kit. Trying to save a few bucks by reusing the old one is a recipe for doing the whole job twice.
Now, the pilot bearing sits between the end of the crankshaft and input shaft of your transmission. Its job is to keep everything lined up when you push in the clutch. If it seizes or wears out, you’ll notice a nasty noise or even trouble getting into gear. Sometimes it’s a tiny bearing, other times it’s a small bushing—depends on your make and model.
- Common Signs of Bearing Trouble:
- Squealing when pressing the clutch pedal (release bearing issue)
- Grinding or sticking during shifting (could be either bearing)
- Vibrations or a notchy feel in the clutch pedal (pilot bearing issue)
If you want to see just how big of a deal these tiny parts are, check out this quick comparison table:
| Part | Location | Main Job | Failure Symptoms |
|---|---|---|---|
| Release Bearing | Between clutch fork & pressure plate | Engages/disengages clutch | Squealing, rough shifts, noise when pedal pressed |
| Pilot Bearing | End of crankshaft | Centers input shaft | Noise at idle with clutch out, hard shifting, vibration |
Bottom line: never skip replacing the release and pilot bearings when installing a new clutch kit. Skimping here is like changing your shoes but leaving holes in your socks—the job just doesn’t hold up for long. If you hear odd noises or feel weird vibes when driving, pay extra attention to these two clutch helpers during your next repair.
Installation Hardware and Extras
If you think a clutch kit stops at the big parts, you're missing out on the stuff that actually makes the swap less of a headache. Most modern kits toss in smart extras—just enough so you’re not scrambling for parts halfway through your install.
The not-so-glamorous but super important stuff usually includes:
- Alignment tool: This little plastic or metal rod lines up your clutch disc perfectly with the flywheel during install. Mess this up and you might as well forget about getting the transmission back in smoothly.
- New bolts: Clutch kits often pack fresh hardware for the pressure plate or flywheel. Old bolts stretch out and weaken; reusing them is a shortcut to disaster. Don’t skip new ones if your kit provides them.
- Grease packet: A small packet for lubricating contact points, usually on the input shaft or release bearing. Skipping this step can mean squeaks or premature wear. Only use the exact kind included; regular grease isn’t always compatible with clutch parts.
- Pilot bearing or bushing (sometimes): Not every kit tosses this in, but if it does, always swap the old one out. Worn pilot bearings cause weird noises and vibration.
Here’s a quick peek at what you might find, depending on the brand or style of your kit:
| Part | Standard in Kits? | Why It Matters |
|---|---|---|
| Alignment Tool | Almost always | Ensures exact fit during install |
| Pressure Plate Bolts | Sometimes | Fresh hardware, safer hold |
| Grease Pack | Sometimes | Proper lubrication, less noise/wear |
| Pilot Bearing/Bushing | Often | Smoother operation, longer life |
Tip: Before you start the job, lay out everything in your kit and double-check against your vehicle’s repair manual. Missing a small part could mean hours lost on a late-night parts run. When in doubt, throw in new hardware—those extras aren’t just freebies, they’re there for a reason.
Tips for Choosing and Replacing a Clutch Kit
Picking out the right clutch kit isn't always as simple as pointing at a box at the auto parts store. A kit for your friend’s truck won't necessarily work for your Subaru or Honda Civic. Models, years, and even engine types matter—get this wrong, and you’ll waste cash and time. Always double-check your car’s make, model, and engine specs before pulling the trigger. If in doubt, snag the part number from your old clutch or look up your VIN for exact matches.
Quality brands make a difference. Some big names like Exedy, Luk, and Valeo are used as factory suppliers—which tells you they know what they’re doing. No-name, rock-bottom kits might save you money up front, but they can lead to headaches like shuddering, slipping, or a clutch that wears out after a few months.
- Check what’s actually in the kit. Does it have the pilot bearing and alignment tool? These little extras save you another parts run later.
- Ask about warranty—good kits usually offer at least 12 months.
- Read reviews specific to your vehicle, not just overall brand ratings.
- If you regularly tow heavy loads or run a turbo, consider an upgraded or heavy-duty kit.
If you’re replacing the clutch yourself, here are a few tips that'll make life easier:
- Take pictures as you go, especially if it’s your first time. Snap the old parts before you remove them. Future you will be thankful.
- Replace the rear main seal while you’re in there, since you’ve got easy access and leaks stink.
- Clean the flywheel surface, or better yet, have it resurfaced at a shop. Even tiny grooves or hot spots can shorten your new clutch’s life.
- Use the alignment tool to center the clutch disc perfectly before tightening everything down. Skip this, and you might not be able to slide the transmission back in.
- Tighten bolts in a criss-cross pattern and to the right torque. Guessing leads to broken bolts or uneven pressure.
Clutch replacement usually takes a skilled DIYer anywhere from 4 to 8 hours, depending on tools and experience. According to AAA, repair shops charge an average of $800-$1,500 for labor and parts, while a quality kit for most cars costs between $120 and $450.
| Car Type | Average Kit Price | Average Labor Time |
|---|---|---|
| Compact Sedan | $120 - $250 | 4 - 6 hours |
| Pickup Truck | $190 - $400 | 6 - 8 hours |
| Performance/Turbo | $250 - $600 | 6 - 10 hours |
Finally, don’t ignore early signs of clutch trouble: slipping, burning smells, trouble shifting, or a clutch pedal that changes feel overnight are clear warnings. Replacing the kit before things go really bad can mean easier installation and less damage to other parts.