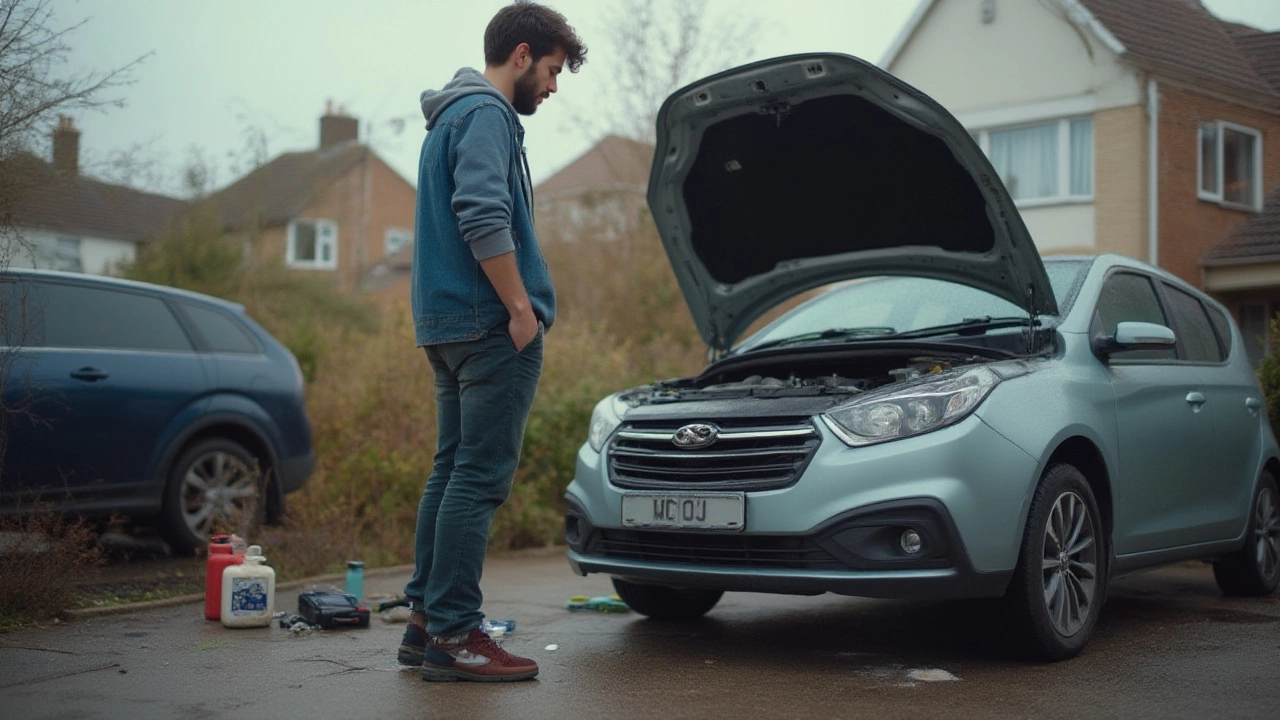
If you’ve ever heard a sputtering engine or a rough idle, a clogged fuel filter could be to blame. The filter’s job is simple – it catches dirt, rust and other debris before the fuel reaches your engine. Clean fuel means smoother power delivery and longer engine life.
Most drivers never think about the filter because it works silently in the background. It sits somewhere in the fuel line, often near the fuel tank or engine bay. When it’s new, you won’t notice it at all. When it gets clogged, you’ll start to feel the difference.
Why care about a fuel filter? Dirty fuel can wear out injectors, cause poor combustion and even trigger fuel‑system warnings on your dashboard. Replacing the filter is cheap compared to a ruined injector or a failed fuel pump.
Here are the tell‑tale signs that your filter needs attention:
Most manufacturers recommend checking the filter every 30,000 – 45,000 miles, but if you drive on dusty roads or use low‑quality fuel, you might need to swap it sooner. Keeping a log of mileage and filter changes helps you stay on schedule.
Before you buy a new filter, match the part number to your car make and model. OEM filters fit perfectly and meet the original specifications. Aftermarket options can be cheaper, but be sure they meet the same flow rating – a low‑quality filter can restrict fuel flow and cause new problems.
Start by listening. A sudden roughness or a “gurgling” sound when you press the accelerator often points to a clogged filter. Next, check the fuel pressure with a gauge if you have one – low pressure signals a blockage.
If you’re comfortable working under the car, locate the filter. It’s usually a small metal canister with two fuel hose connections. Look for signs of leakage or corrosion around the fittings.
When you’ve confirmed the filter is dirty or old, it’s time for a swap. You can do it yourself with a few tools, or let a professional handle it if you prefer.
1. Gather tools. You’ll need safety glasses, a set of wrenches, a clean rag, and the correct replacement filter.
2. Relieve fuel pressure. Pull the fuse or relay for the fuel pump, then start the engine and let it die. This step prevents fuel spray.
3. Disconnect the battery. A quick disconnect avoids any accidental sparks while you work with fuel lines.
4. Remove the old filter. Loosen the hose clamps, carefully pull the hoses off, and take out the filter. Expect a few drops of fuel – keep the rag handy.
5. Install the new filter. Position it the same way as the old one (pay attention to flow direction arrows), attach the hoses, and tighten the clamps.
6. Test the job. Re‑connect the battery, turn the ignition on (don’t start yet) to prime the pump, then start the engine. Watch for leaks and listen for smooth operation.
That’s it – a 15‑minute job for most cars. If you notice any leaks after the test, tighten the clamps a bit more or reseat the filter.
When in doubt, a quick call to Northwich Tyres Centre can save you time. They stock a range of fuel filters for popular models and can fit them while you wait for a coffee.
Keeping the fuel filter clean is a small habit that pays big dividends. Regular checks, timely replacement, and using quality fuel keep your engine humming and your wallet happy.
 5 July 2025
Learn how to spot a bad fuel pump or fuel filter with easy tests, symptoms, real-life tips, and expert insights. Find out what really causes fuel problems.
 8 December 2024
When your vehicle starts to show signs of sluggish performance, it may be caused by a faulty fuel filter or fuel pump. Both components are vital for the optimal running of your car engine, delivering the right amount of fuel when needed. Knowing the symptoms associated with each can save you time and money by avoiding misdiagnosis and unnecessary repairs. In this article, we'll dive deep into telling these problems apart and provide useful tips for maintaining your fuel system.
©2026 northwichtyrescentre.co.uk. All rights reserved


0